Fringeless: Four Selvedge Warping with Sarah C. Swett
Produced by Rebecca MezofF
Taught by master tapestry artist, Sarah C. Swett, Fringeless: Four Selvedge Warping is a unique opportunity to learn how to warp and weave tapestry in this fun way while getting all of Sarah's inside weaving tips.
You'll see Rebecca in this course presenting information about various looms, giving her two cents about tapestry weaving, and generally keeping the camera rolling.
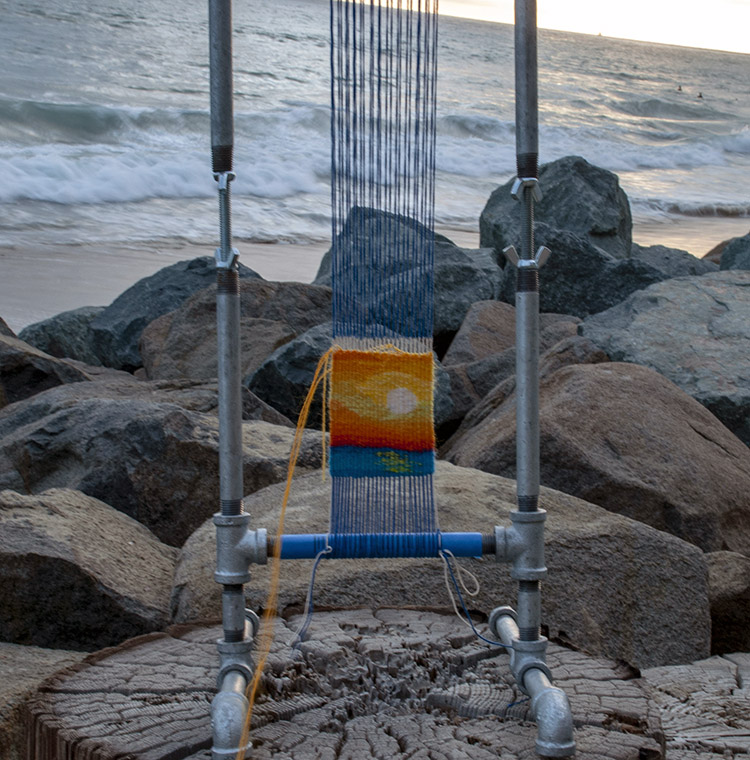
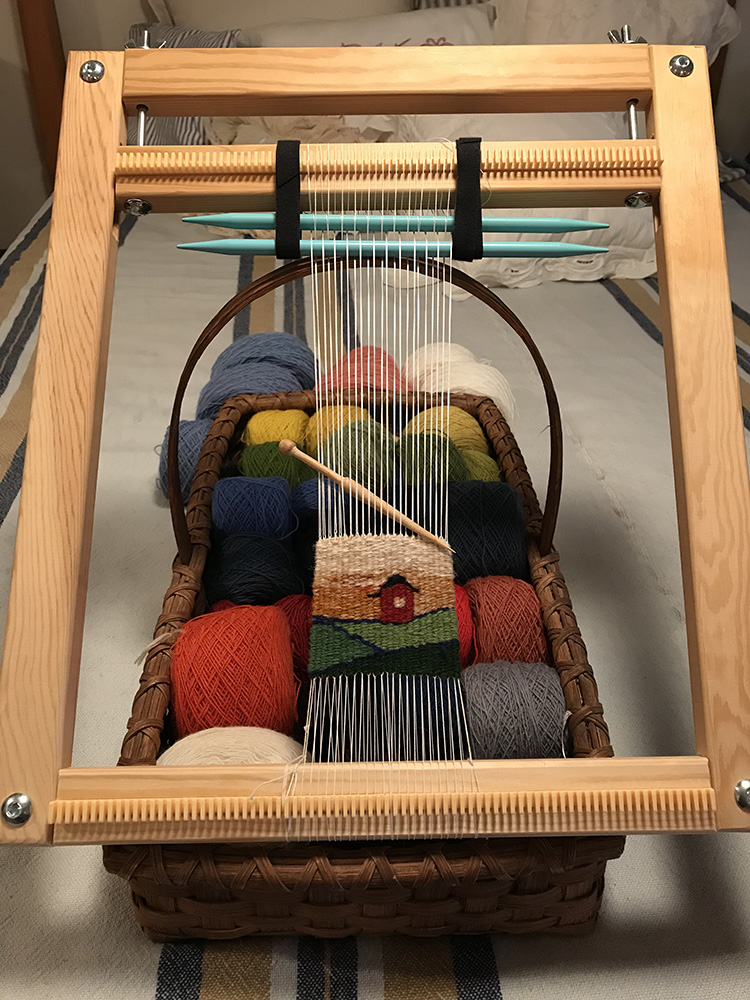
This online class will teach you how to warp a loom so that when you are finished weaving, there is no fringe and no hem. This warping method is often called four selvedge warping.
“You two have a particular giftedness with tech, teaching, and community building/fostering. Your ability to communicate the techniques of complicated processes in ways that are easy to understand and replicate is rare. The format allowing classmate sharing of ideas, questions, and comments is very helpful. You both gear your students for success. Thank you...”
In September of 2023, Sarah and I had a chat about Fringeless and how the class has shaped us over the last 5 years. You can watch the replay below.
Note that Sarah and Rebecca will be doing another chat like this on December 2, 2024. You can join them live on YouTube or watch the replay HERE.
Course outline
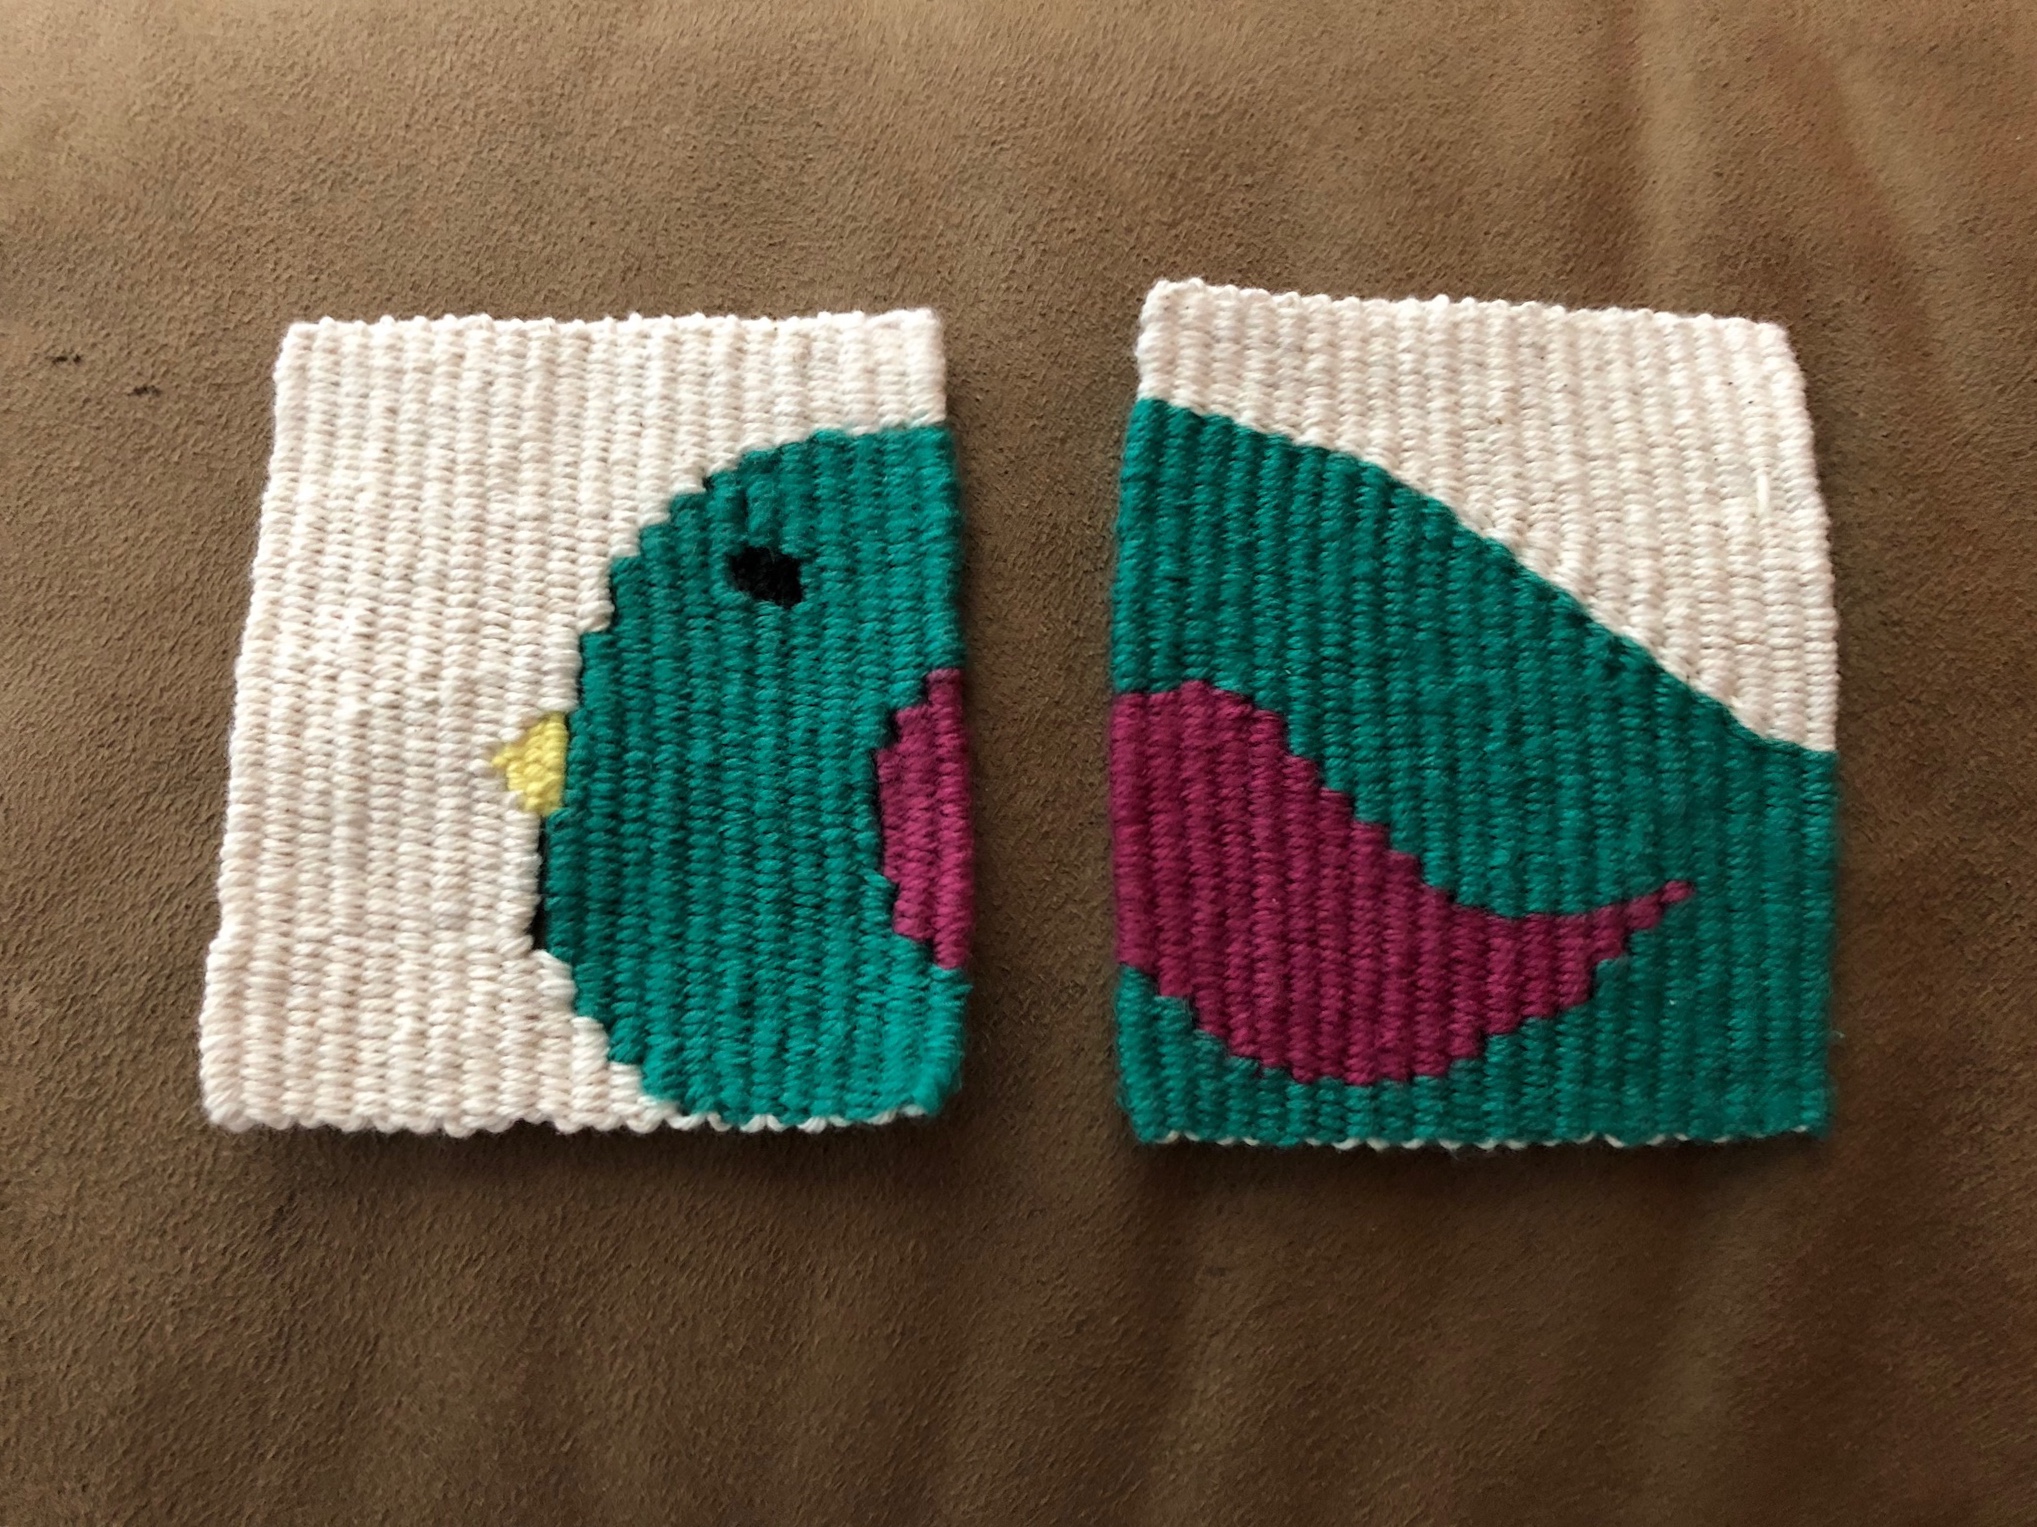
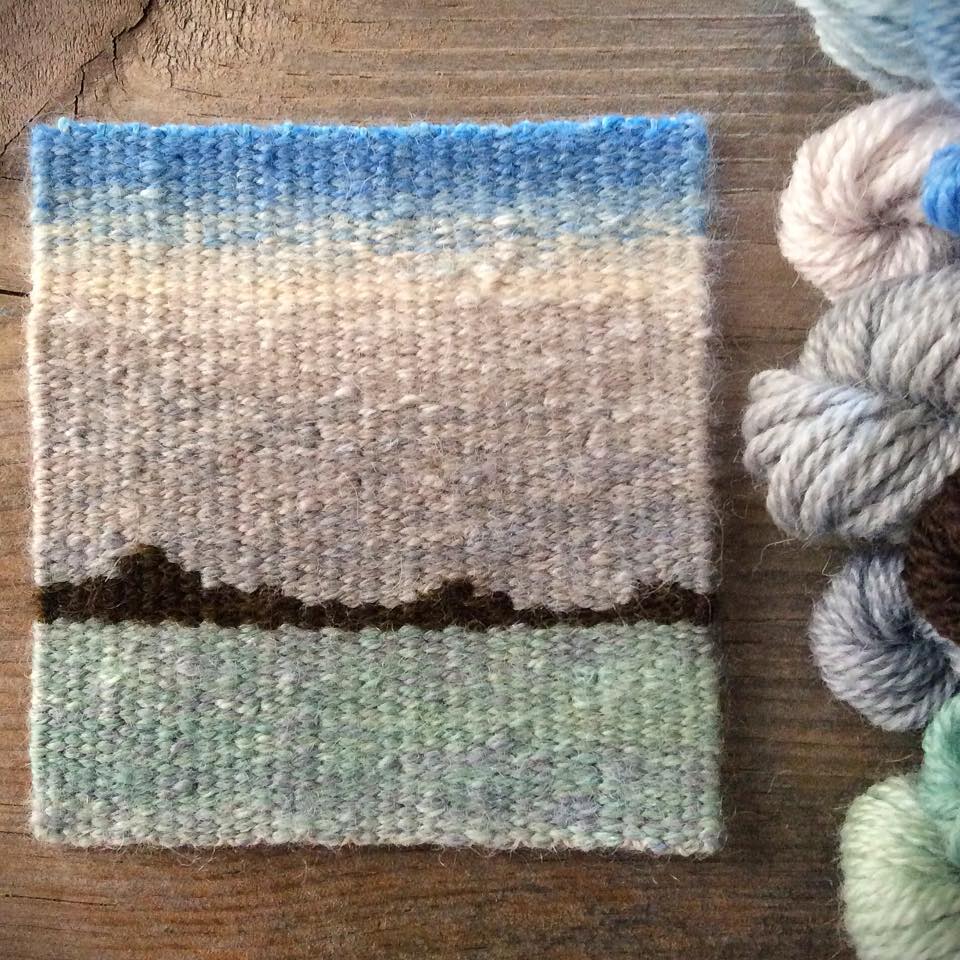
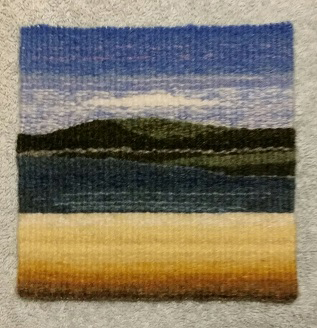
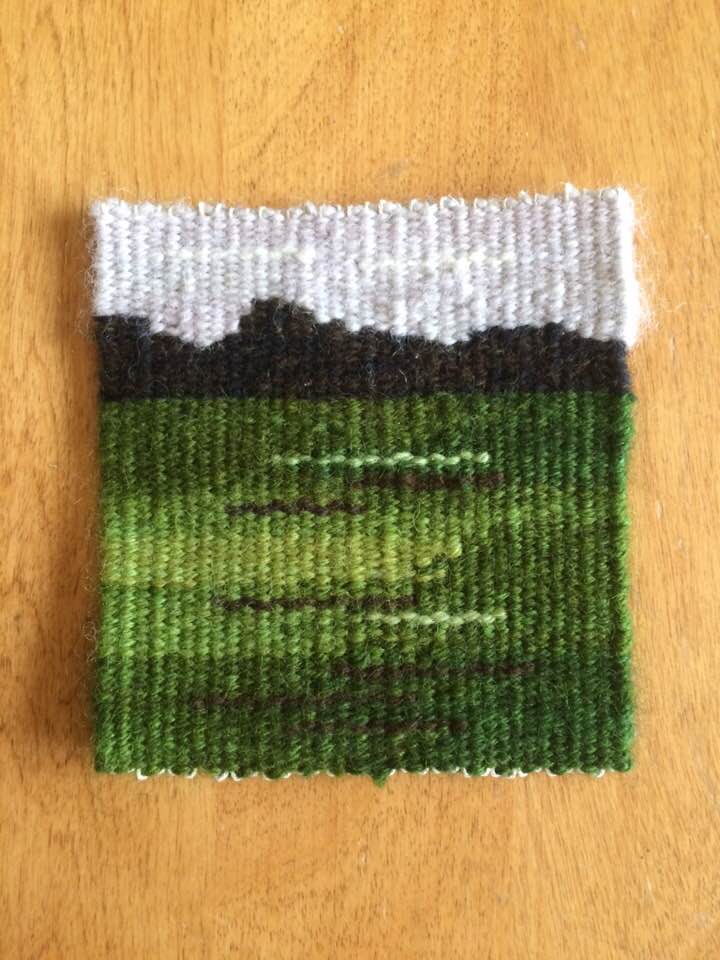
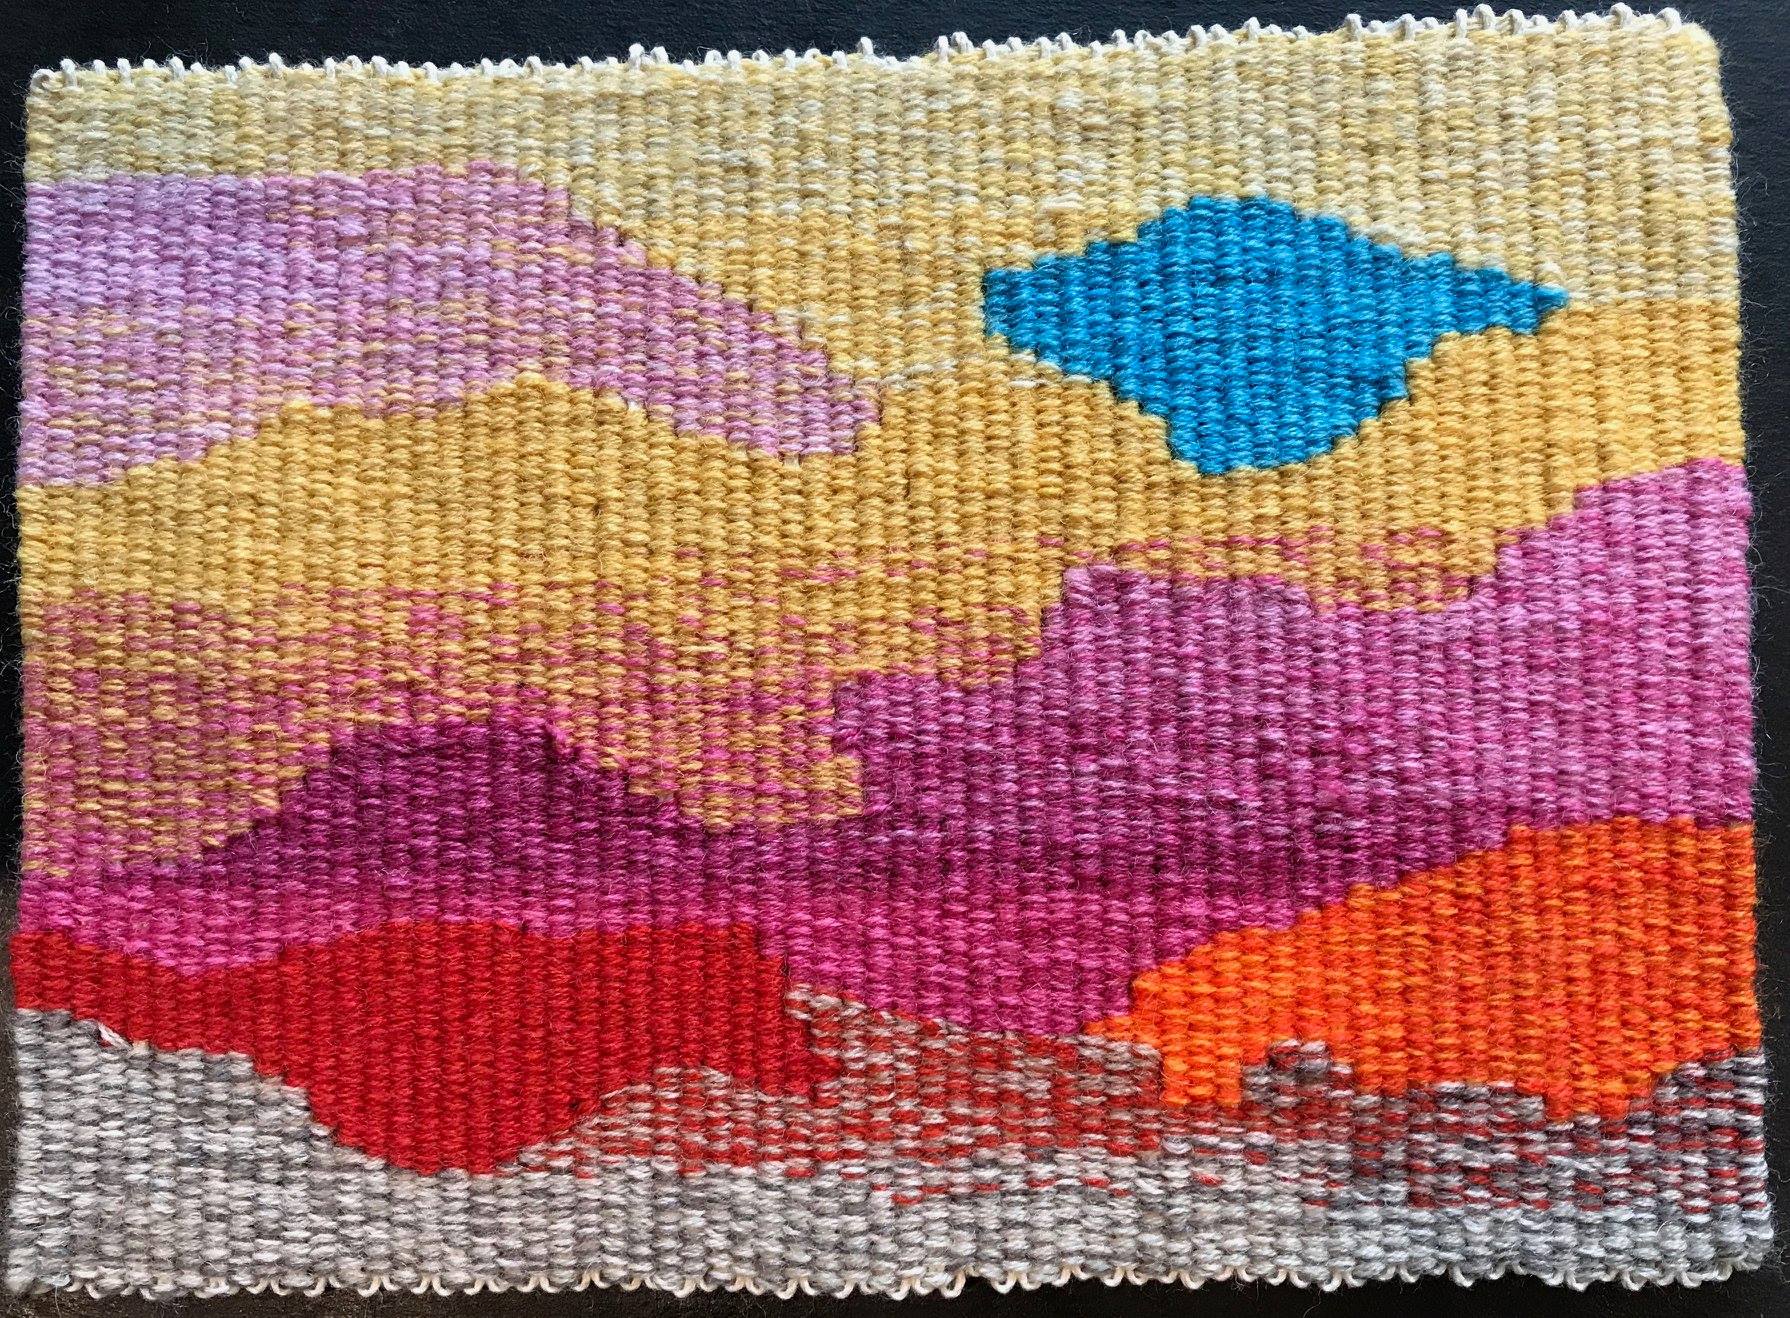
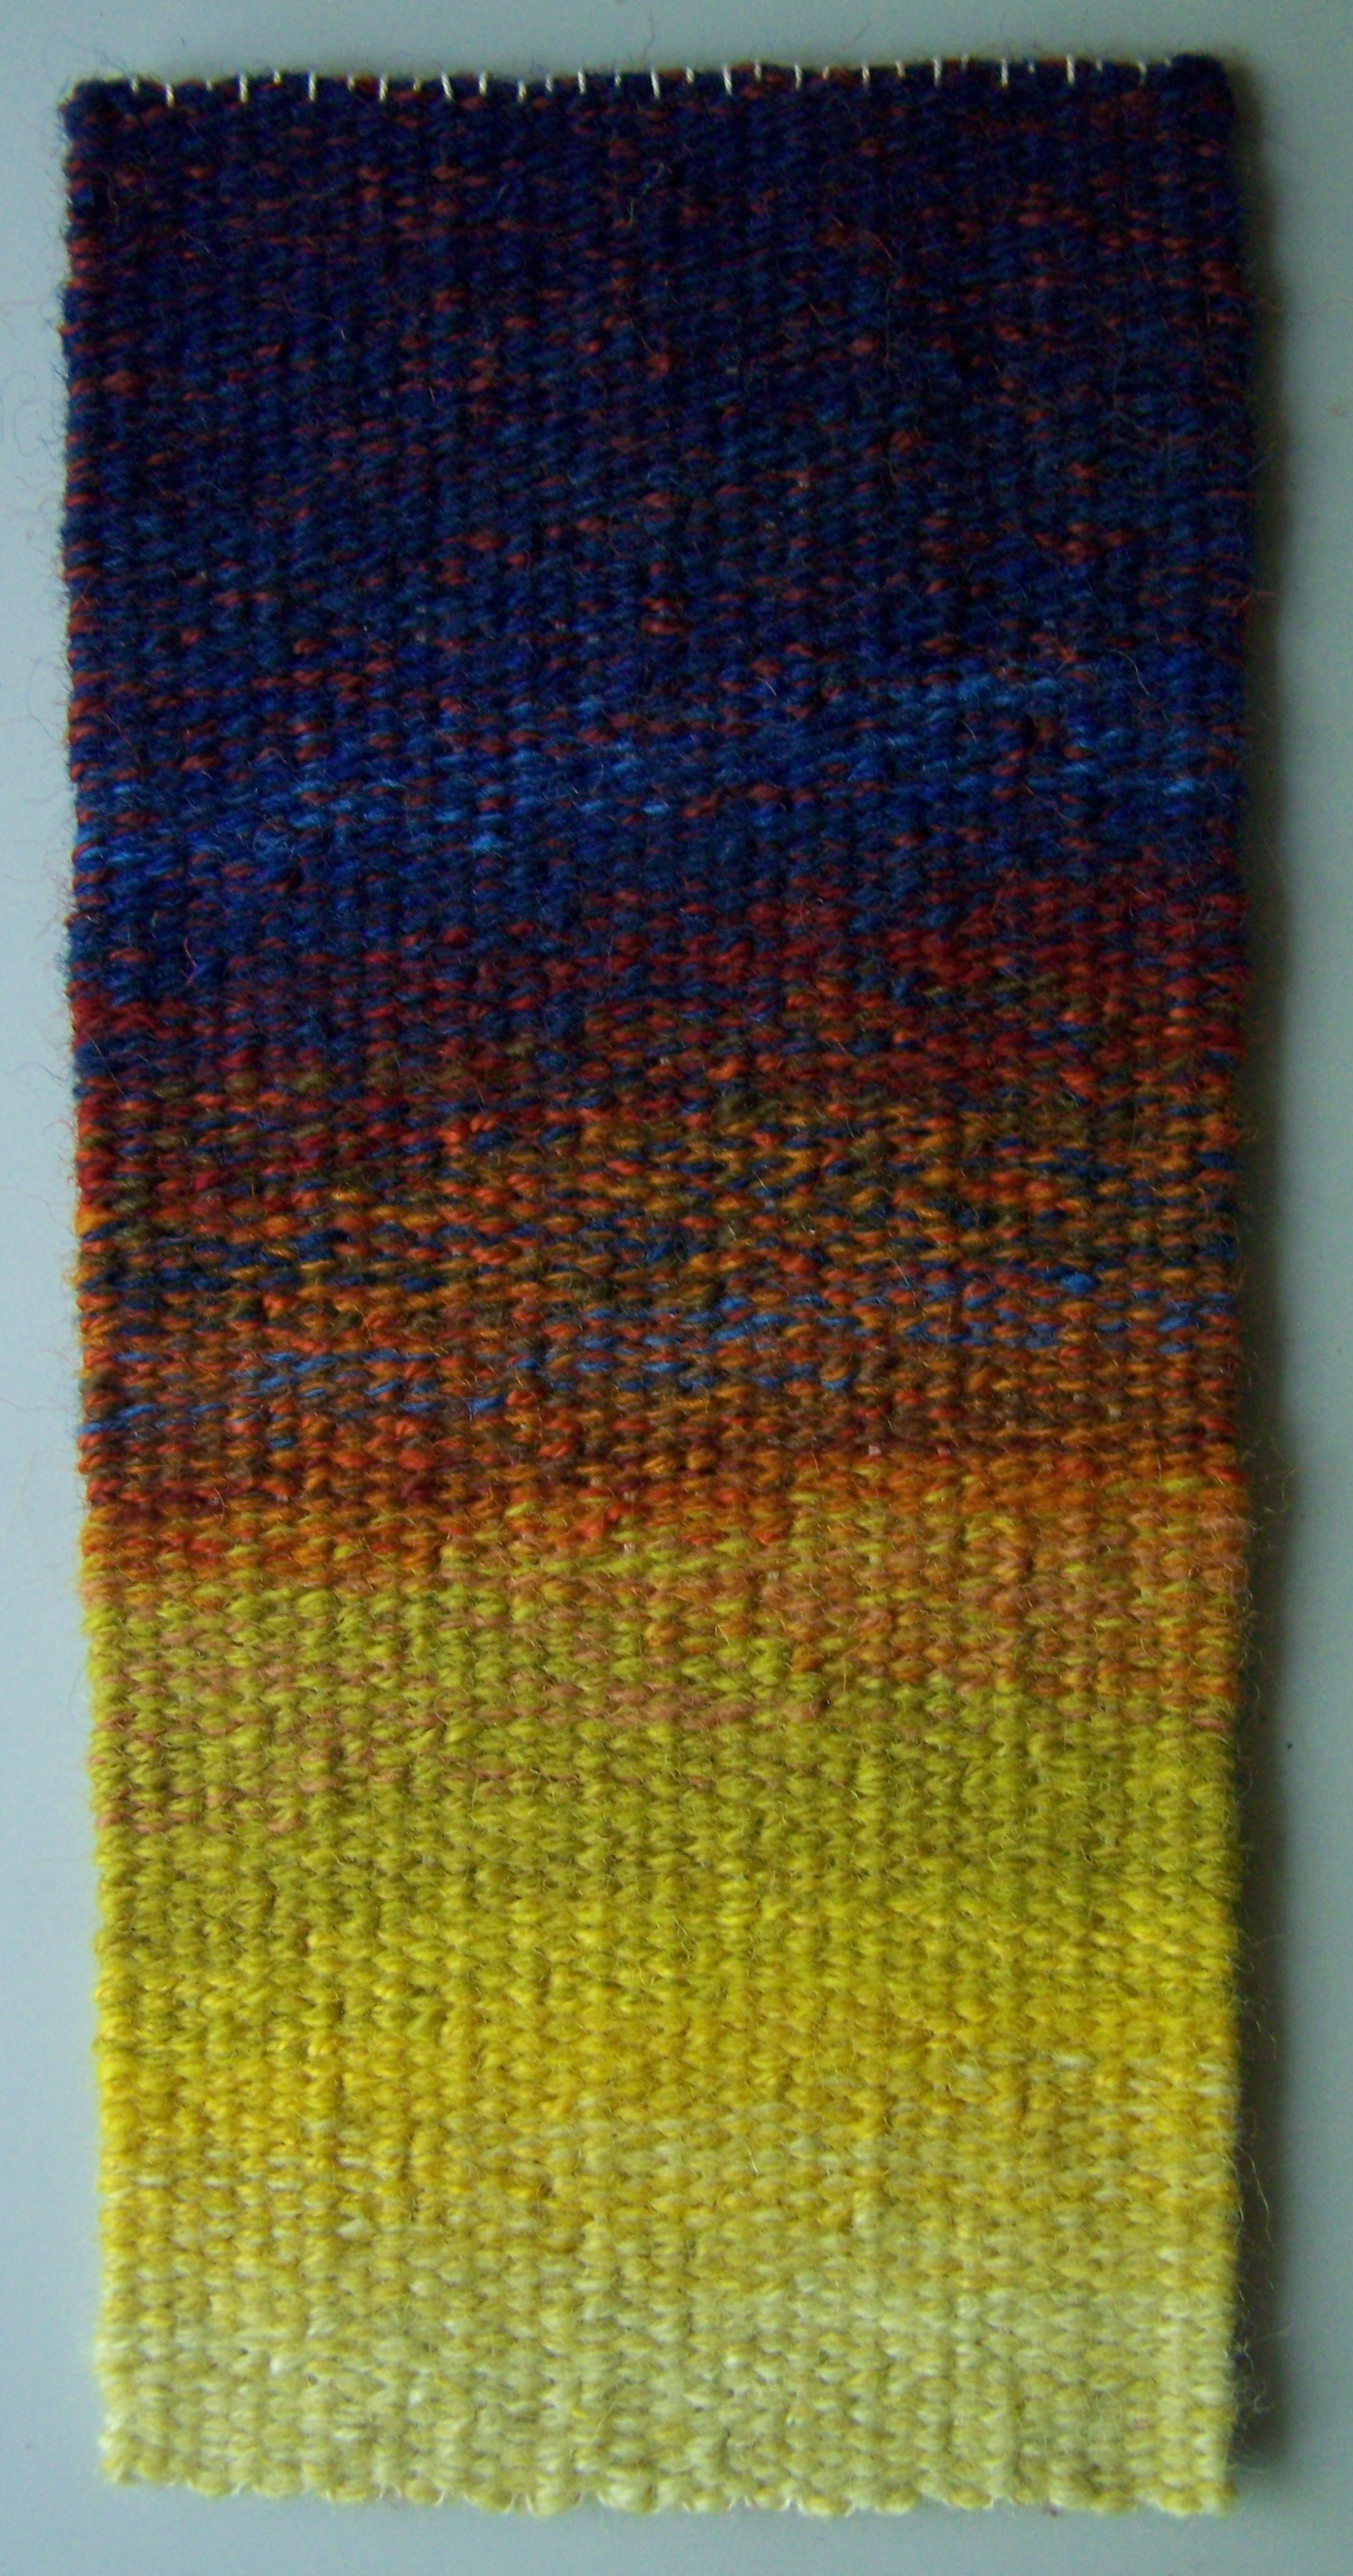
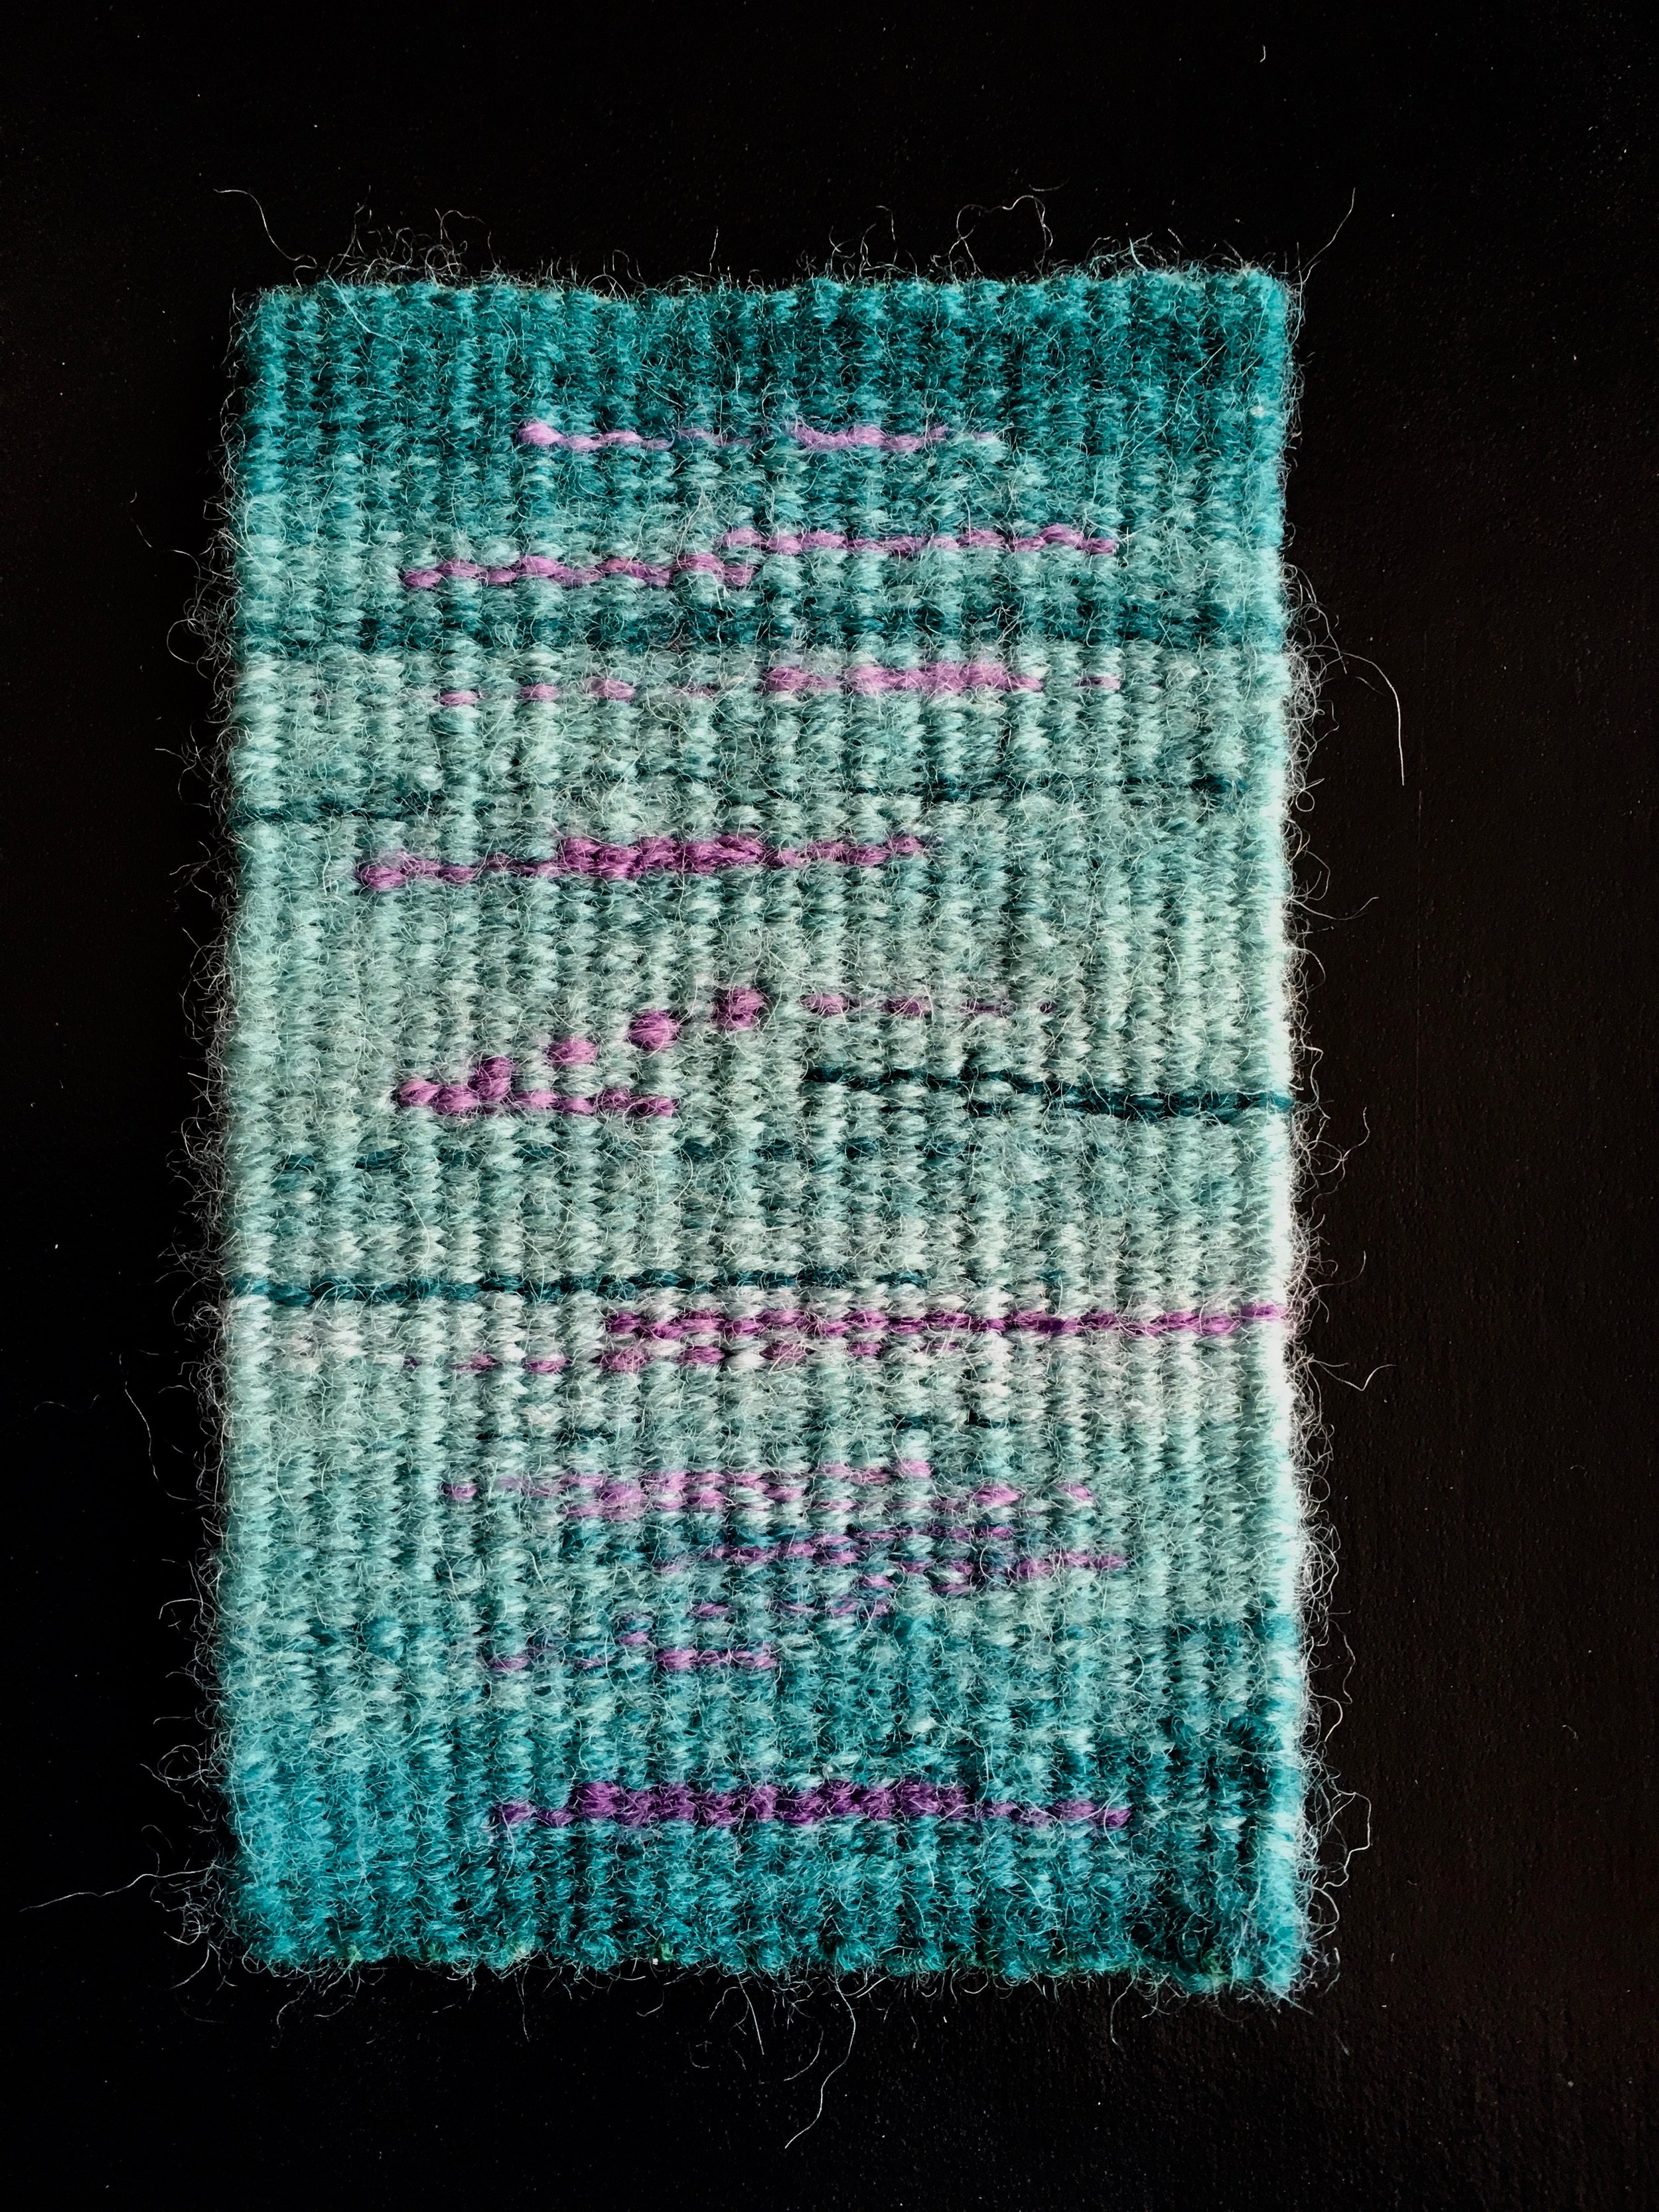
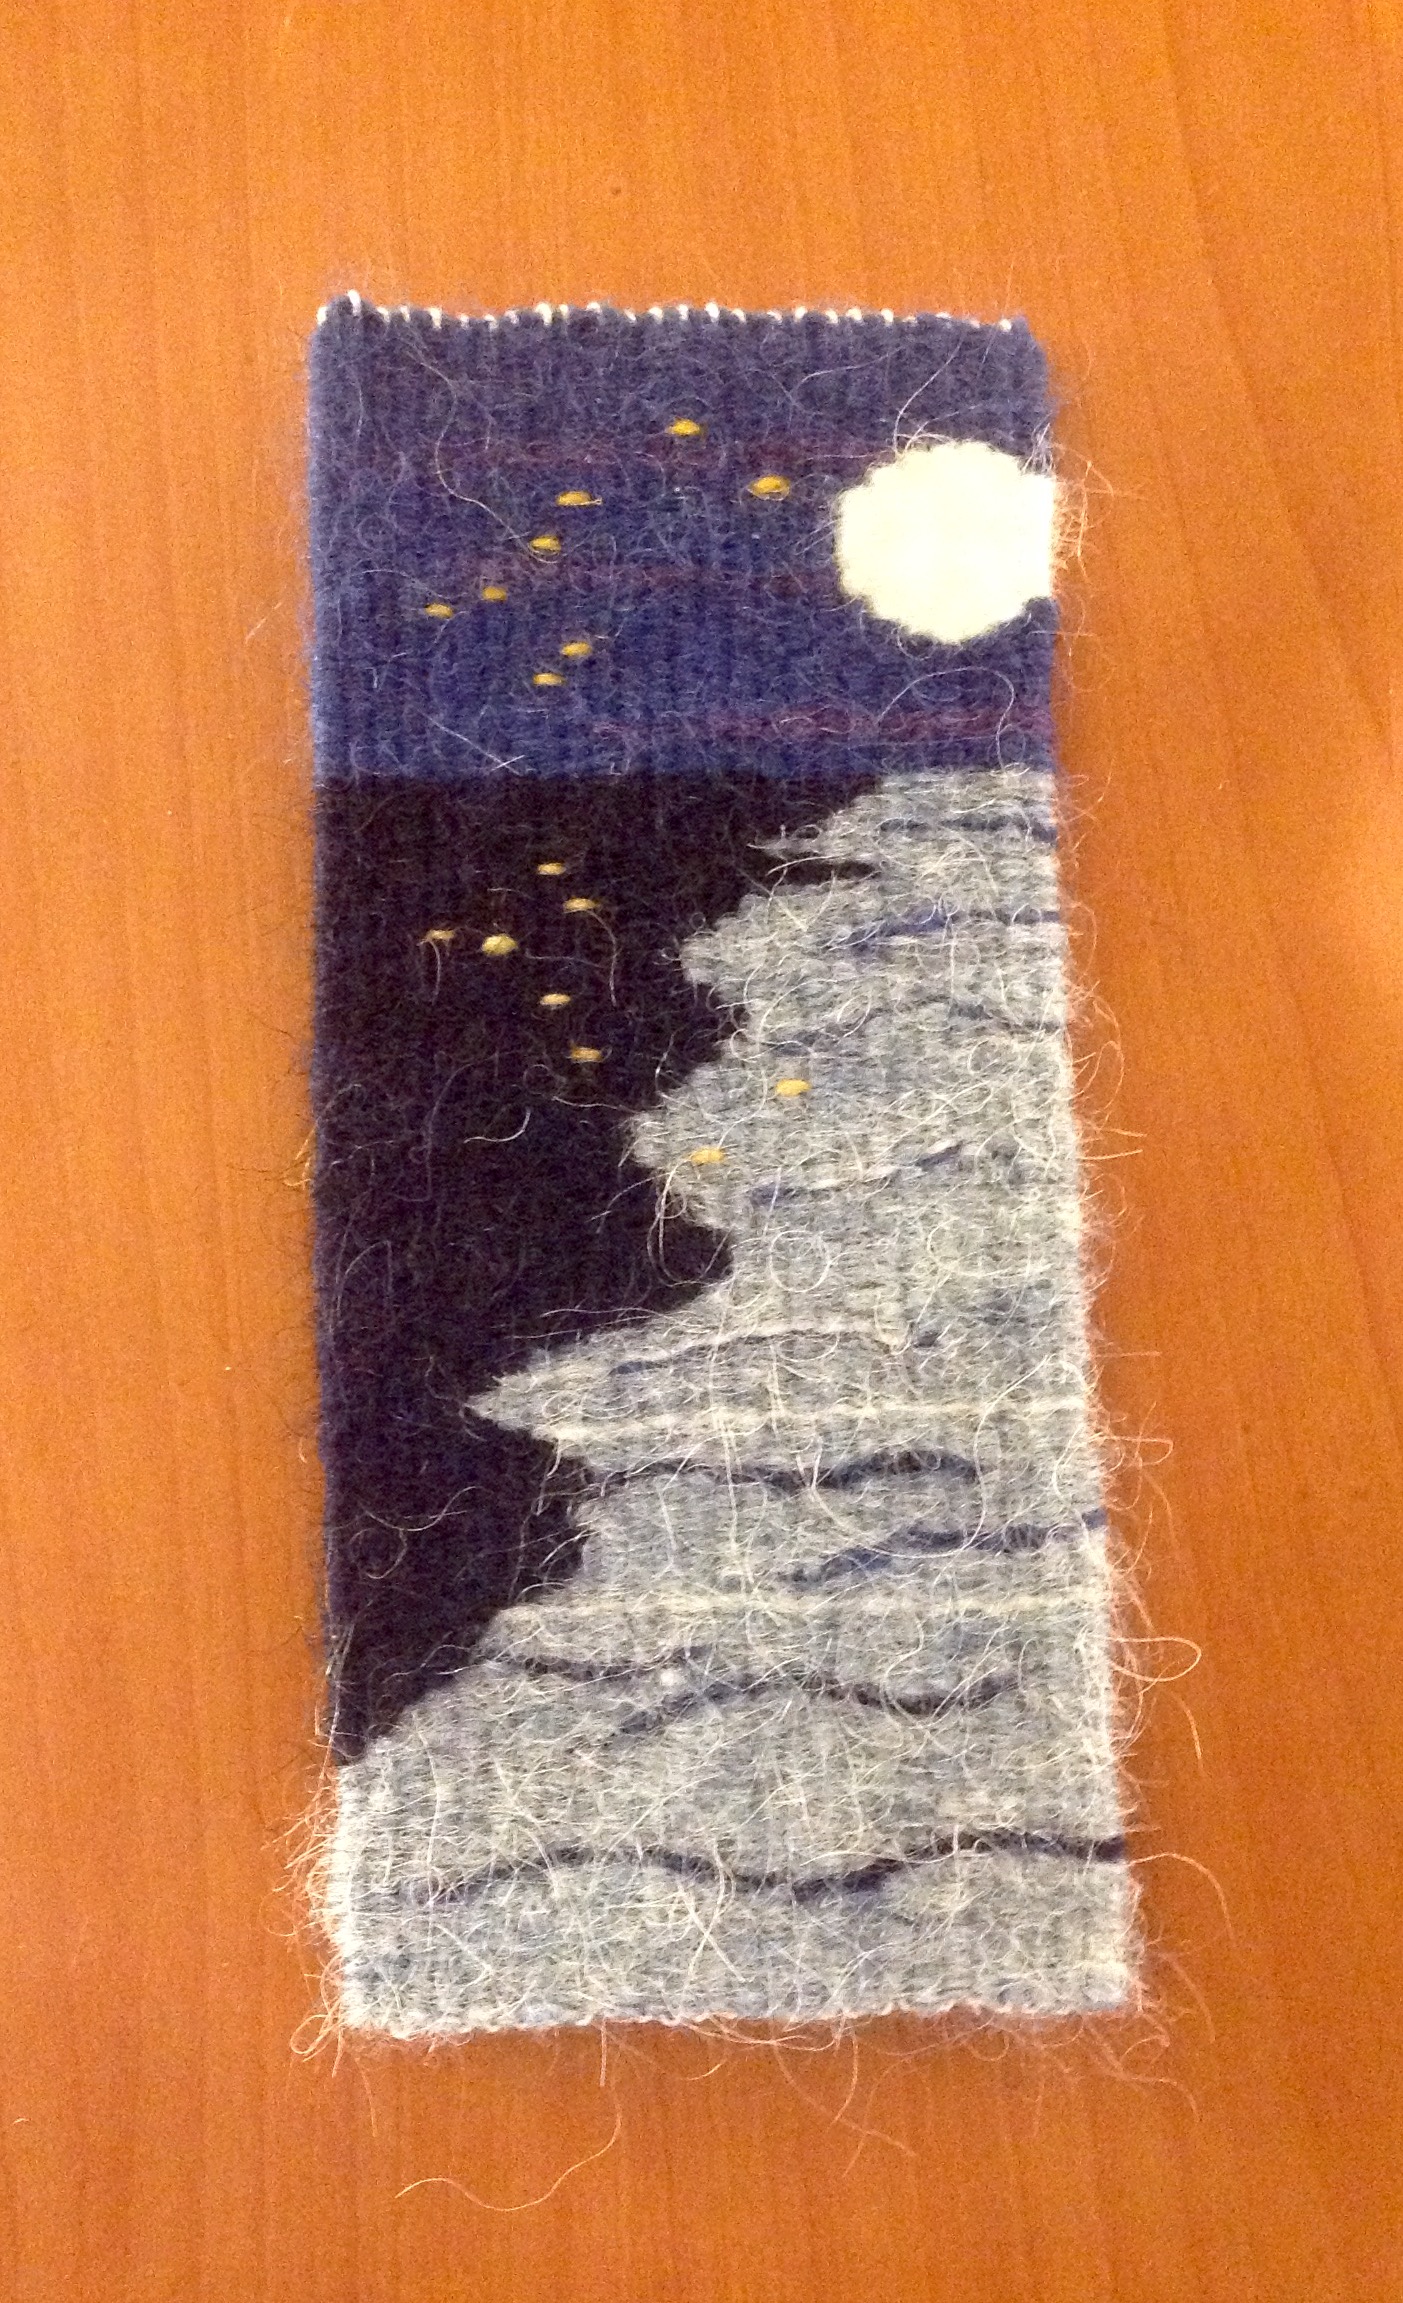
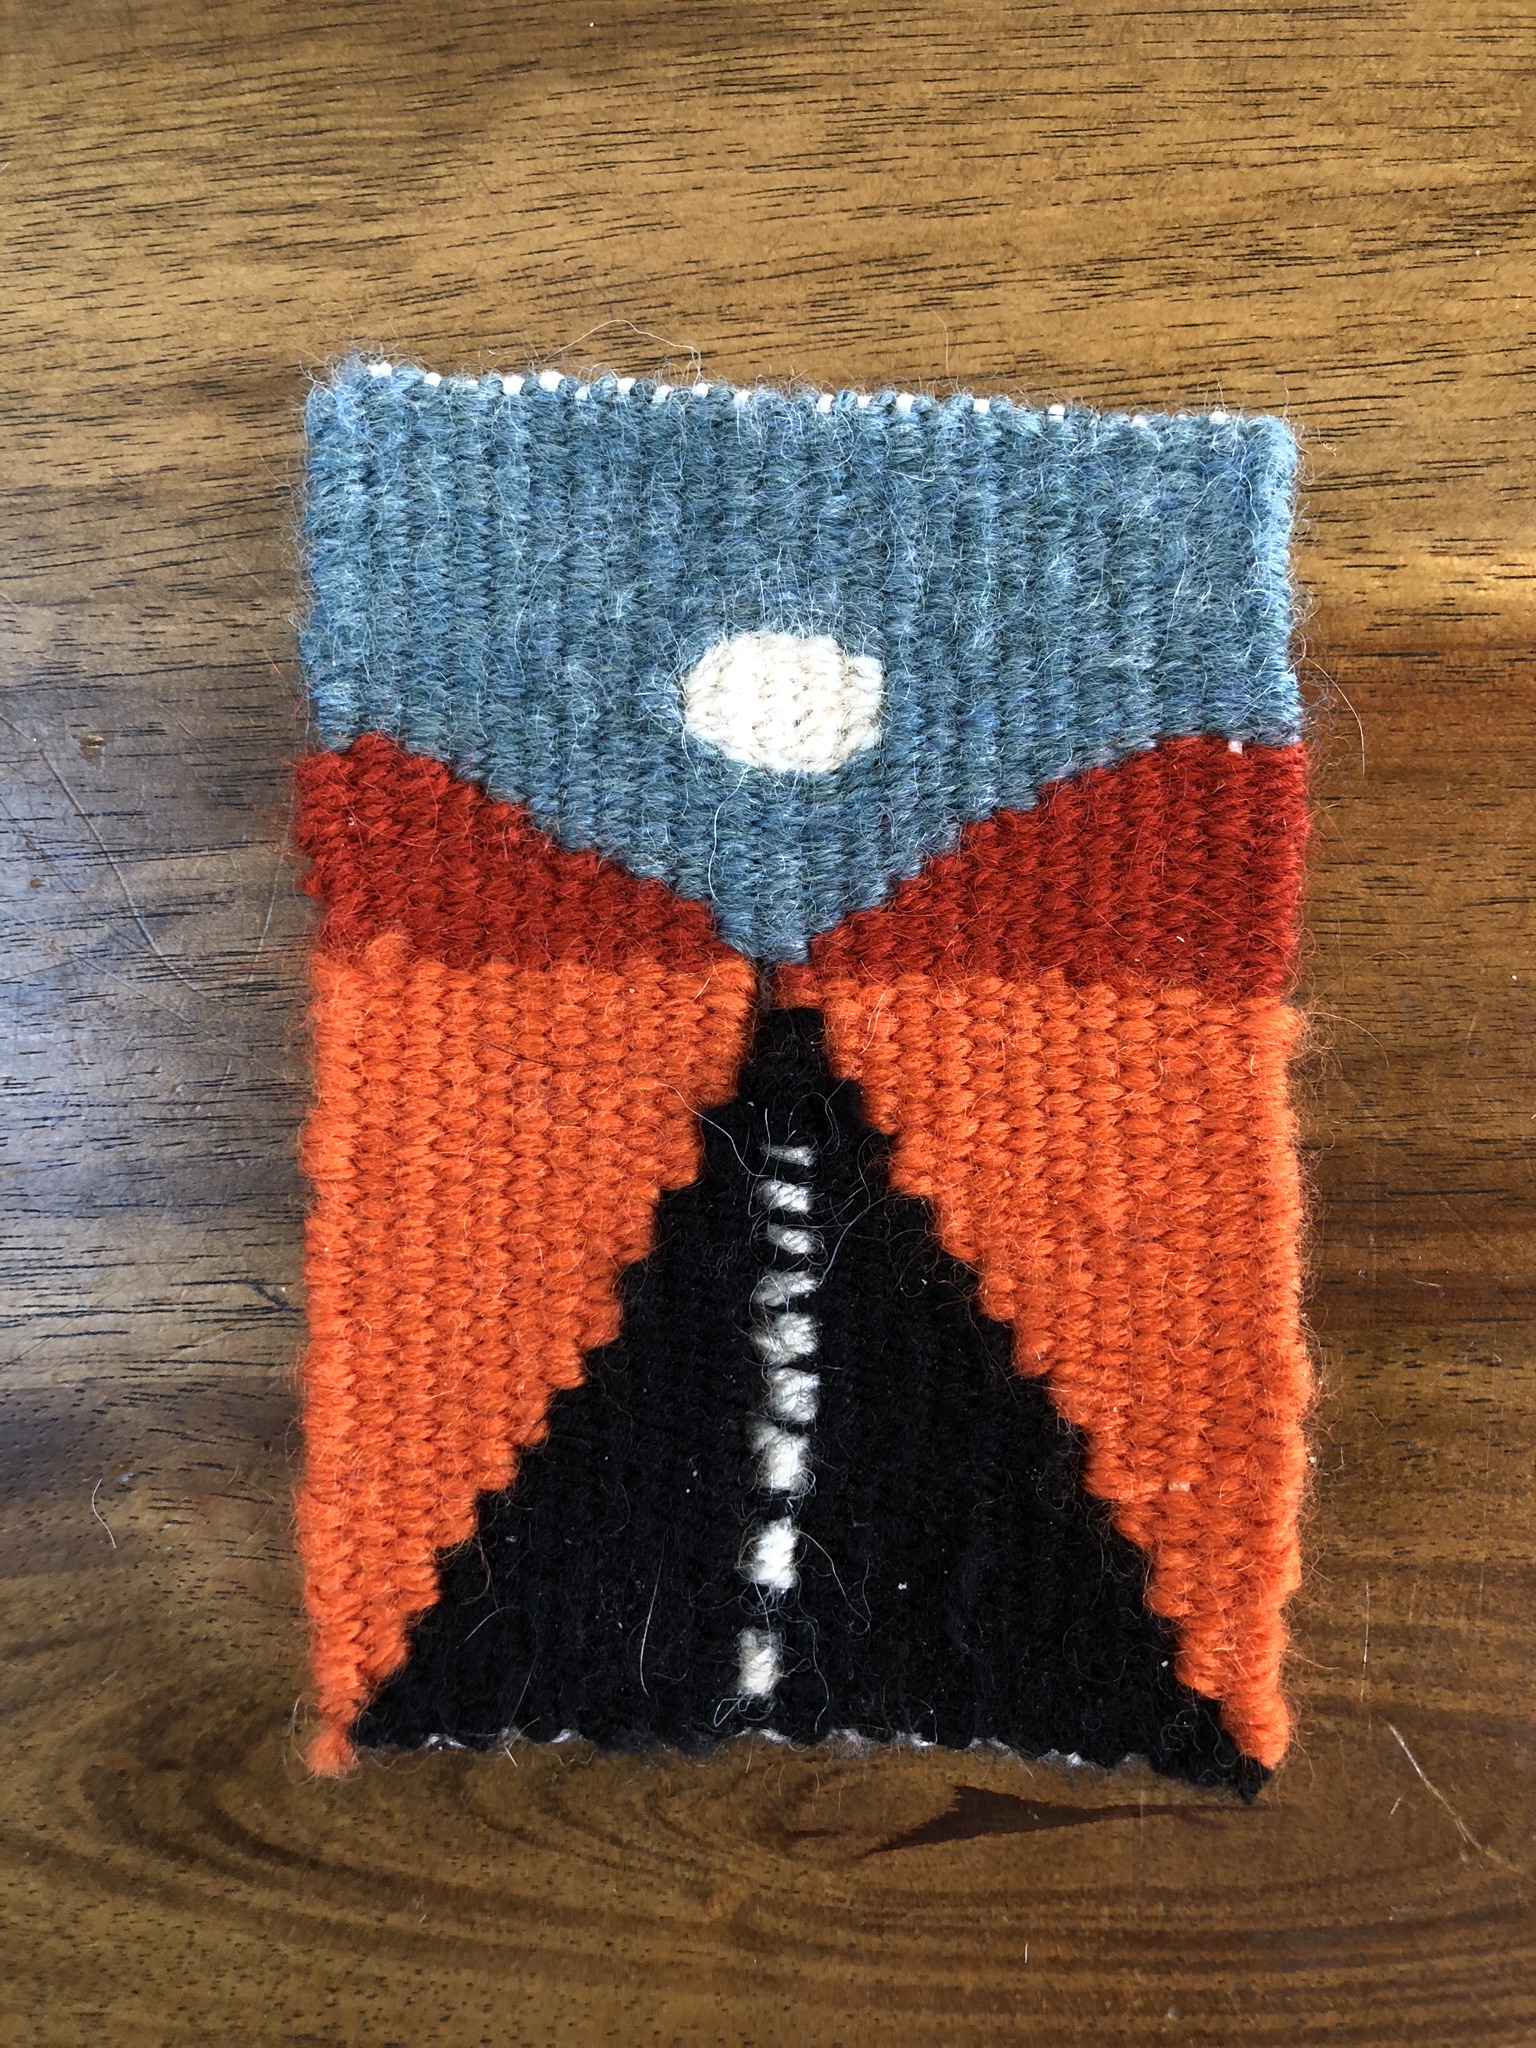
2.5 inch square four selvedge tapestry weavings by Sarah Swett
Introduction to four selvedge warping and weaving
Materials you'll need
Looms
Warping process
Weaving on a four selvedge warp as well as some exceptional tapestry weaving tips from Sarah
Removing your piece from the loom and finishing
Suggested projects and resources
Bonus videos!
“All I can say is a giant thank you to both you and Sarah! I’ve just completed my third [Fringeless tapestry], and both warping and weaving is getting better and easier. It’s lovely to weave with you and Sarah at my work table with me. It just feels so nice and easy and ... homey. Every question that I have about this particular technique is answered somewhere during the class. I can watch and listen endlessly and get the same happy each time!”
What will I need?
This is not a beginning tapestry class. It is assumed that you have warped a loom for tapestry before and that you know basic tapestry techniques.
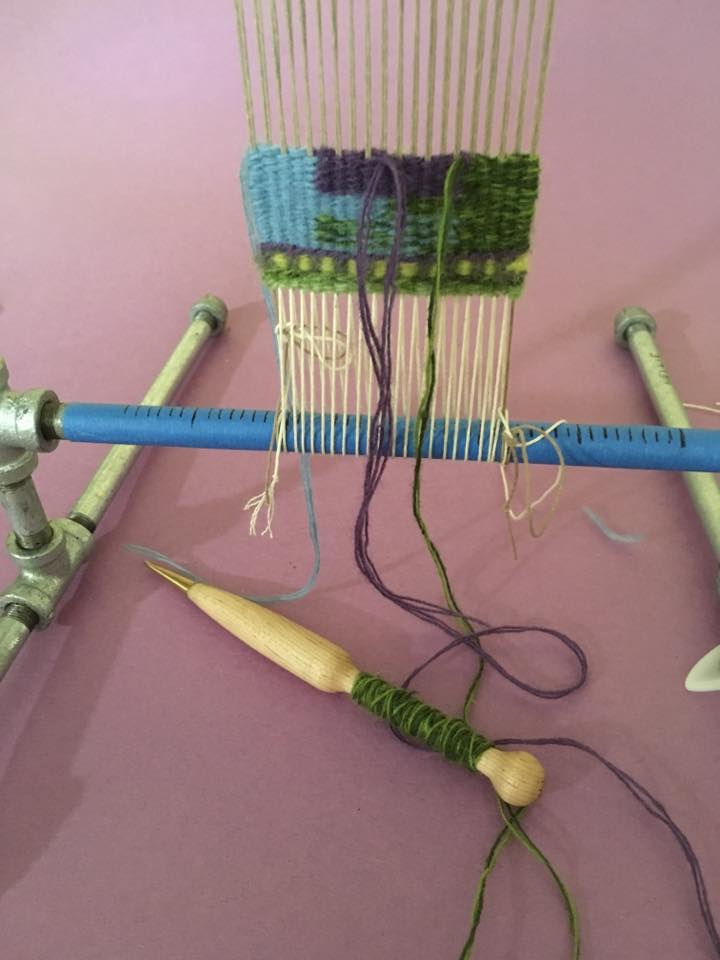
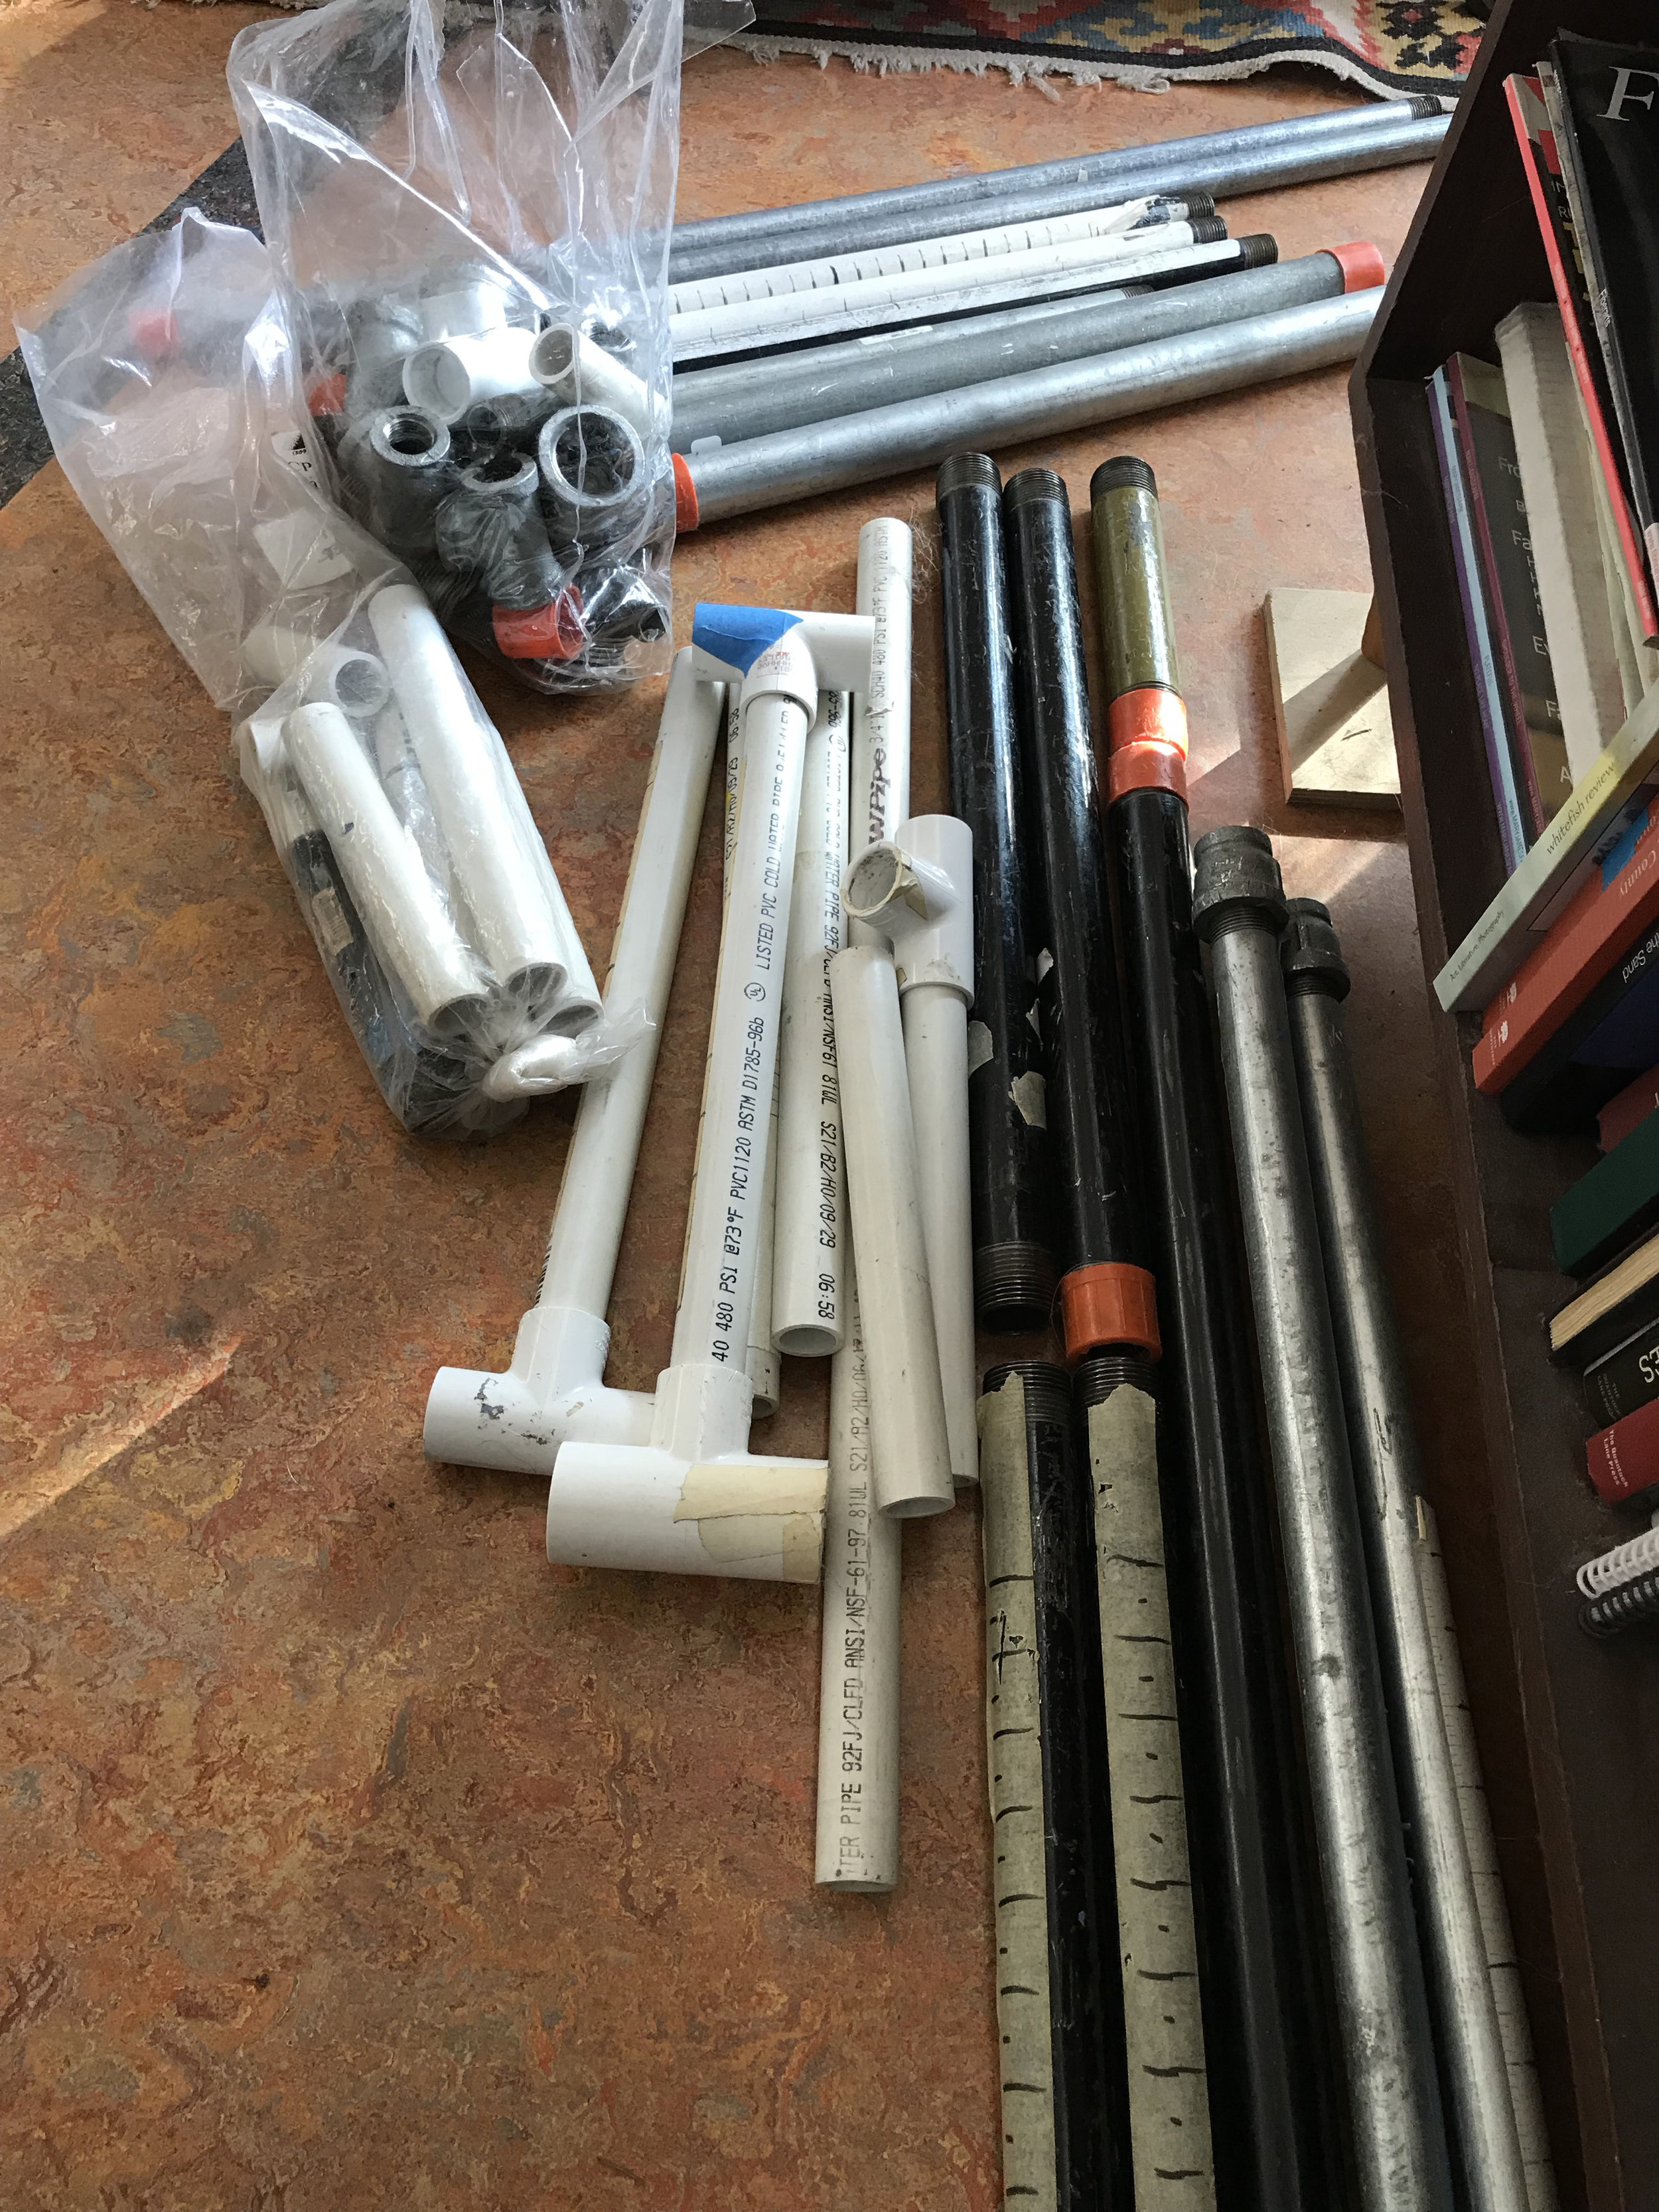
We’ll talk more about the type of loom you’ll need in the course, but you will need a loom that has tensioning ability to do this technique. We provide plans for making a variety of pipe looms or you can use a Mirrix. Looms without tensioning (the ability to get longer to make the warp tighter) will not work for this method of four selvedge warping. You can make a copper pipe loom for about $25 plus one simple tool ($8-10) and we'll show you how to do that in the course. Or for a little more investment but far less fuss and no cutting, you can make a galvanized or black pipe loom which screws together in about five minutes. All you have to do is buy the parts (and again, we'll show you how).
Looms with beams to roll the warp on will not work for this technique either. This is not the technique to try on your floor loom. A simple pipe loom is the best choice.
What materials do I need for Fringeless?
We’ll cover everything you’ll need in the course, but here’s an overview:
A loom. Find more details about what kind of loom you’ll need here.
A jig. Find more details about jigs and what kind of jig you’ll need here.
Rubber bands or ties to hold your jig on your loom
Warp yarn. Because the warp is doubled, you need a thinner warp for a given sett than you might normally use. We’ll cover this in more detail in the course.
Supplemental warp yarn. This needs to be a strong yarn, about the same size as your warp yarn. You can use your warp or we demonstrate with flyline backing in the course (a woven thread used for fly fishing).
one small tapestry bobbin about 5 inches long to hold the supplemental warp
Weft yarn.
Tape measure
Tape. Blue painters tape is great.
Scissors
A selection of needles including at least one tapestry needle
You can find more information about materials I recommend for tapestry weaving here.
Pricing
Regular price for the full course: $269
You can see a webinar Sarah and I did about the Fringeless technique HERE. It includes some great information about our work, answers some questions about weaving and the course, and is generally a fun dive into the recording of a live online event.
“This has been an amazing class with two accomplished weaving instructors!! The directions have been very clear and the video helps tremendously for a newbie. There are many “tips” that would be lost in a book. Especially important were the “mistakes” that were “corrected” things that might halt our progression were addressed. The lovely chats between the “dueling” instructors also gave helpful info. This class instills the confidence to just get on with the weaving once the logistics of the Fringeless technique is learned.
Thanks Rebecca and Sarah!!
”
Irene Takahashi, four selvedge weaving
“The information presented in the Fringeless class is beyond fabulous. Not just about No Warp Ends — but about material management, design decisions, coping with trauma, and on and on. Take this class!”
Frequently asked questions
These are answers to questions students frequently ask about Fringeless. You can find answers to registration and other questions here in the registration FAQ.
Why would I want to use this warping technique?
Four selvedge warping is a rather magical way of setting up a tapestry warp. When you're done with the piece, you'll remove the two supplemental warps and your piece will be finished. No hems, no fringe. You also don't need to put any kind of header in your weaving.
This particular technique is different from the way the Navajo weavers work in that you get a working shed for the entire time you are weaving. There is no painstaking weaving with a needle to finish up the work.
What is a jig?
The four selvedge warping technique involves using a sort of scaffold to hold the warp you will weave on while attaching a supplemental warp. The jig can be very simple and we'll show you how to make one in the course.
(A jig is also a lively folk dance and you'll hear some of this music in the course played by Sarah herself.)
In the course we present three different ways to make a jig and you might come up with your own modification. If you have woodworking skills or a friend who does, certainly you could make a simple wooden jig. But Rebecca and Sarah both make sturdy jigs out of PVC pipe. Cutting PVC is simple with a rotary "cutter" (a simple, inexpensive, pressure-applying rotating tool available at any hardware store) or PVC snip. You could probably even use a hacksaw (a tiny little hand saw with a strong blade). Alternatively you can make a jig out of straps or twine and plain old sticks. It does not have to be complicated!
Purchasing a jig: If making a loom and/or jig seems like something you don’t want to do, Magpie Woodworks started making PVC jigs for this class in September of 2023. They also have a kit with a copper pipe loom and a jig.
What kind of loom do I need for four selvedge weaving?
For this technique, you need a loom that has tensioning ability. The warp is put on with a jig (this could be as simple as sticks and string, we’ll show you how!). When that jig comes out, there is slack in the warp that has to be taken out. This means your loom has to have the ability to get longer and take up that slack. How much slack you have depends on the kind of jig you use.
Pipe looms of all varieties work really well for this technique and we'll give you instructions on how to build a couple different kinds in the course. If you want to purchase a loom, there are options out there! Magpie Woodworks makes copper pipe looms (including one that comes in a kit with a jig for this class). If you already have a Mirrix, you can use that too.
Can I use a Mirrix loom for this technique?
Yes! A Mirrix is just like a pipe loom with added features. You'll need two slight modifications to the usual way you use the loom to use it for four-selvedge, but it works well (and we’ll show you the modifications!).
You'll need to use loom extenders on most Mirrix looms. Six or twelve inch extenders are sold by Mirrix or you can buy 1/2 inch threaded rod and a connector at your local hardware store. I'll tell you how to use your extenders in the course.
The other thing you'll have to modify is the heddles if you want to use the shedding device. You'll need to make a set of heddles that are slightly longer for this technique. I'll show you how to do that too! You’ll just need a little bit of crochet cotton or strong yarn.
“Kudos to Rebecca and Sarah for putting together such a lovely course. And thanks to everyone for your questions and comments. I got to the class later than most and I enjoyed and learned a lot from your comments. Going forward, when I weave a shape and come up with a couple of awkward passes, I will remember the “the dreaded nipple effect” and laugh again uproariously! Thanks Sarah and Rebecca for such a fun class.”
“I have watched the 4 selvage course from beginning to end, just to see what it entails. I just love it!
First – the technique is totally clear to me; it’s completely logical and rational. So I congratulate you on expert-level online teaching as well as Sarah’s technique.
Second – Watching everything without having to do anything allowed my left-right brain to do a kind of mind meld to my artist self — fixed assumptions flew away and I felt at home. No kidding. That long piece where we watch Sarah working is so very liberating. The dueling piece made concrete your advice to take from several teachers – it’s now a visceral realization that each expert has things to teach us.
Third — The whole tapestry thing has been demystified, softened and become a simple pleasure to me.
This course is a perfect addition to what you offer online. Needless to say I shall be retaking the other courses for which I am registered. ”
“So much fun to make these looms! ... All are warped now and I’m enjoying the weaving very much. This was such a fantastic class. So well put together and such great videos and handouts. Maybe the best online class I’ve ever taken.
Pure Pleasure.”
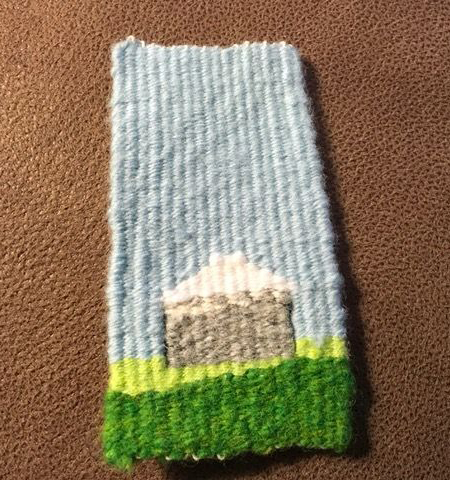
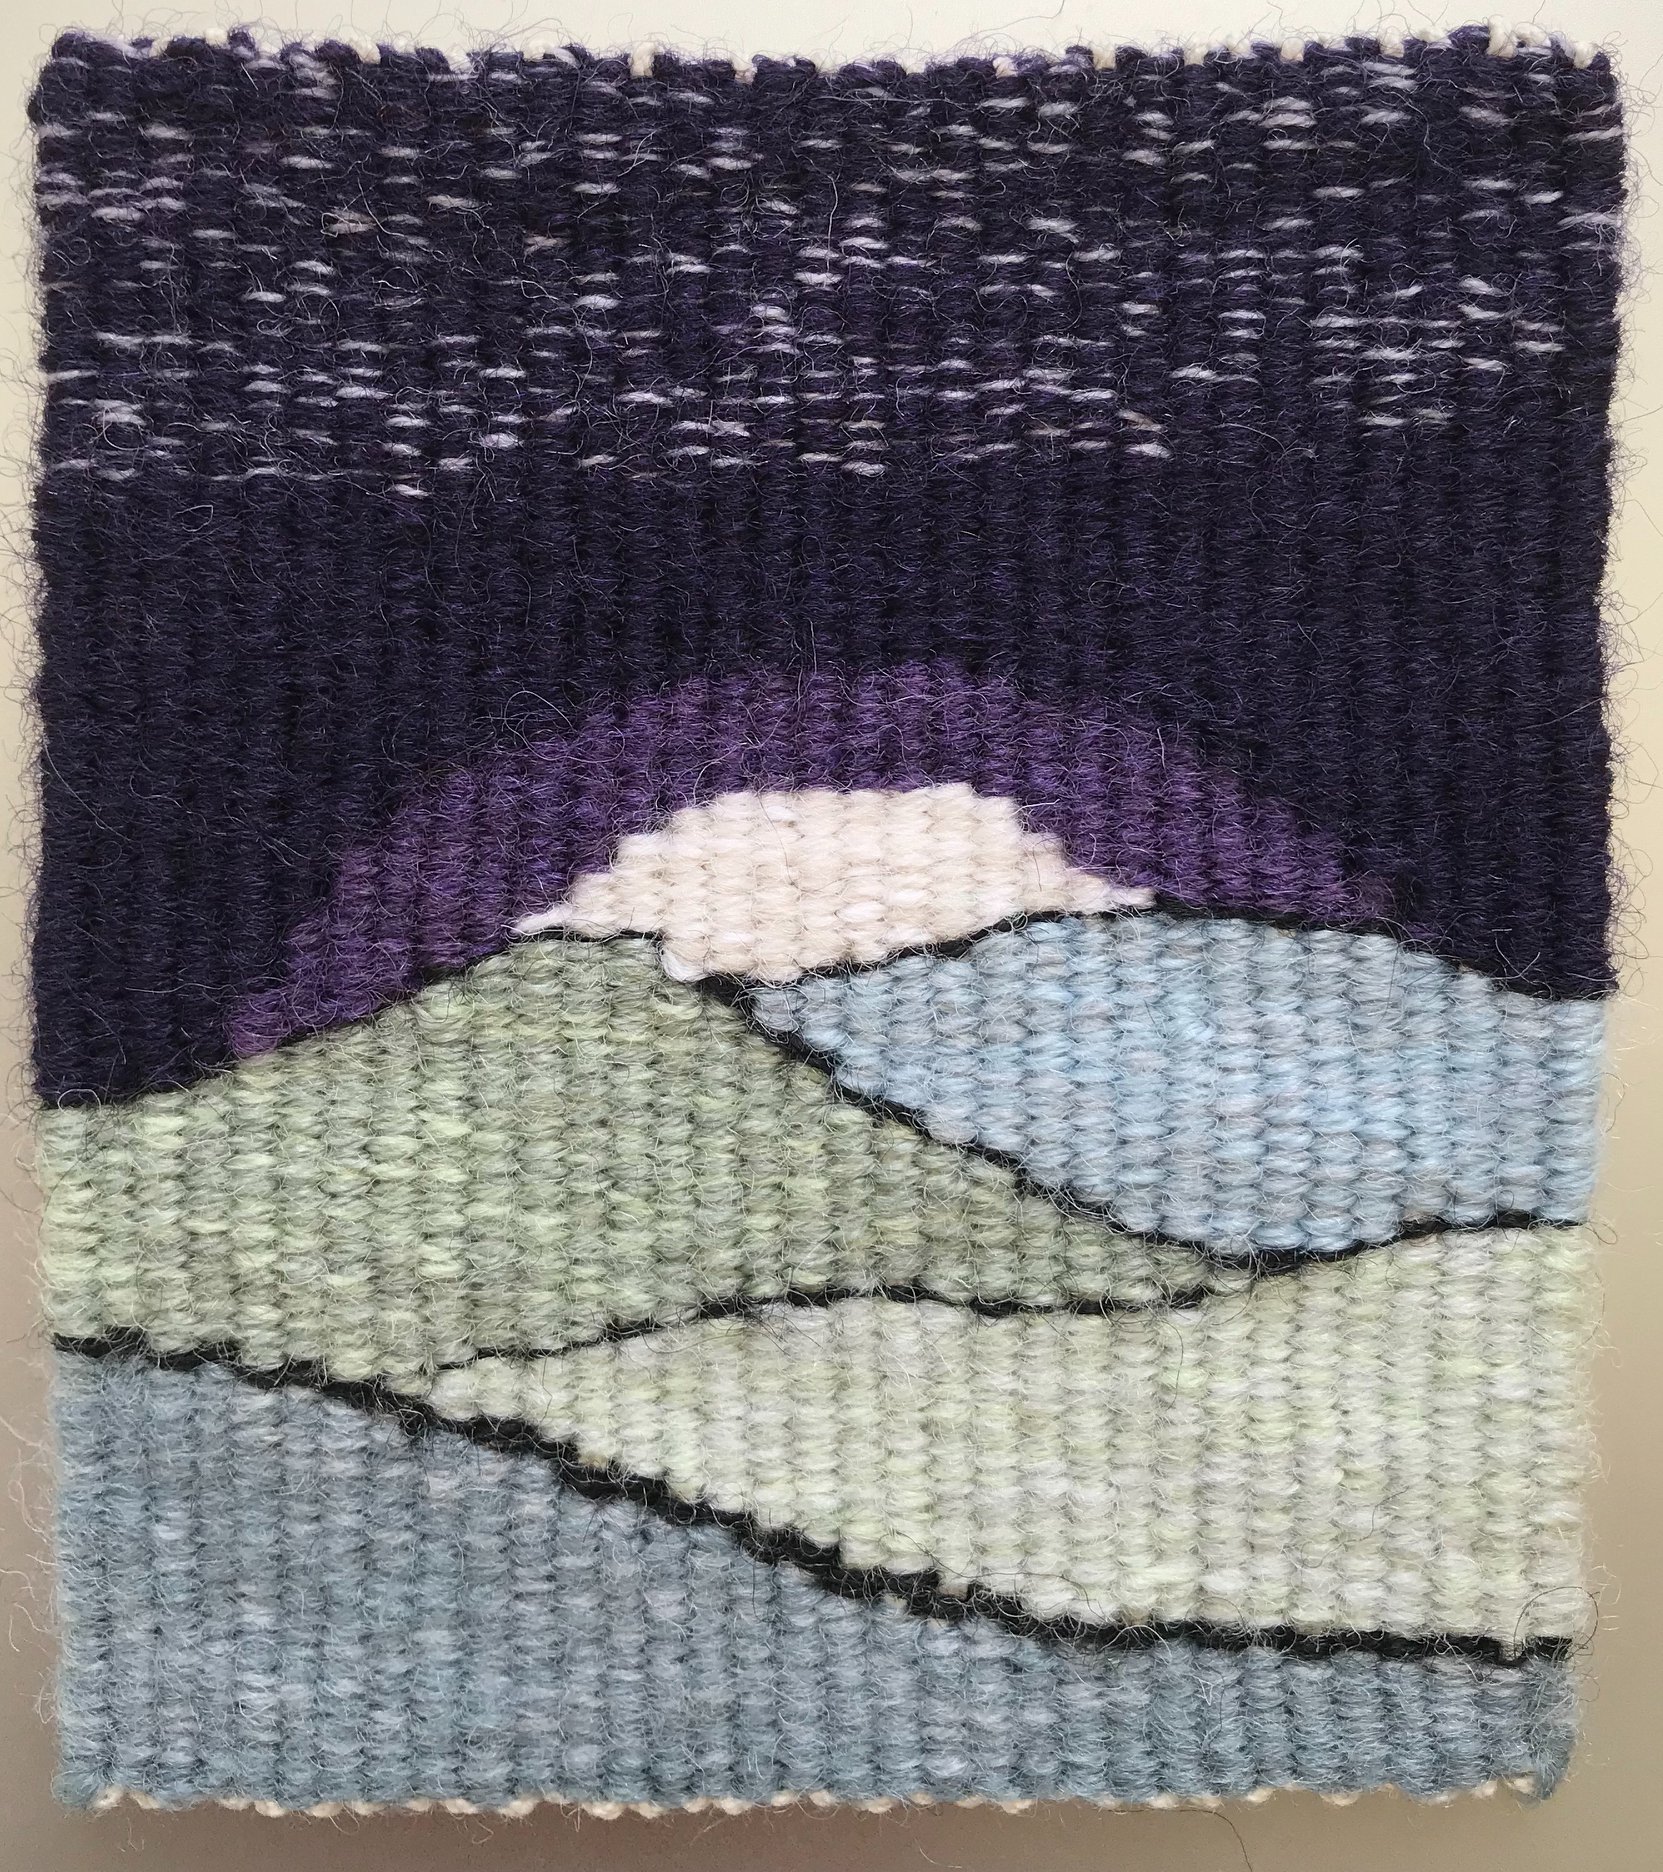
Four selvedge tapestries by Sarah Swett
“I loved the class.
I just adore Sarah’s attitude towards life and her joy shone through and made it a joy to watch her. Watching the two of you with very different weaving styles enjoy each other so much was a pleasure.”
“Thank you so much for this class! I had so much fun, learned so many new techniques (not just warping!) and was able to weave my first two fringeless tapestries over the holidays.
Top:
Anne Pecaro
Airline 1 ½” x 3”
12 epi
Warp: 12/9 cotton seine
Weft: vintage DMC Floralia
Bottom:
Anne Pecaro
Solstice 3 ¼” x 3 ½”
10 epi, Warp: 12/9 cotton seine
Weft: Anzula “Squishy””
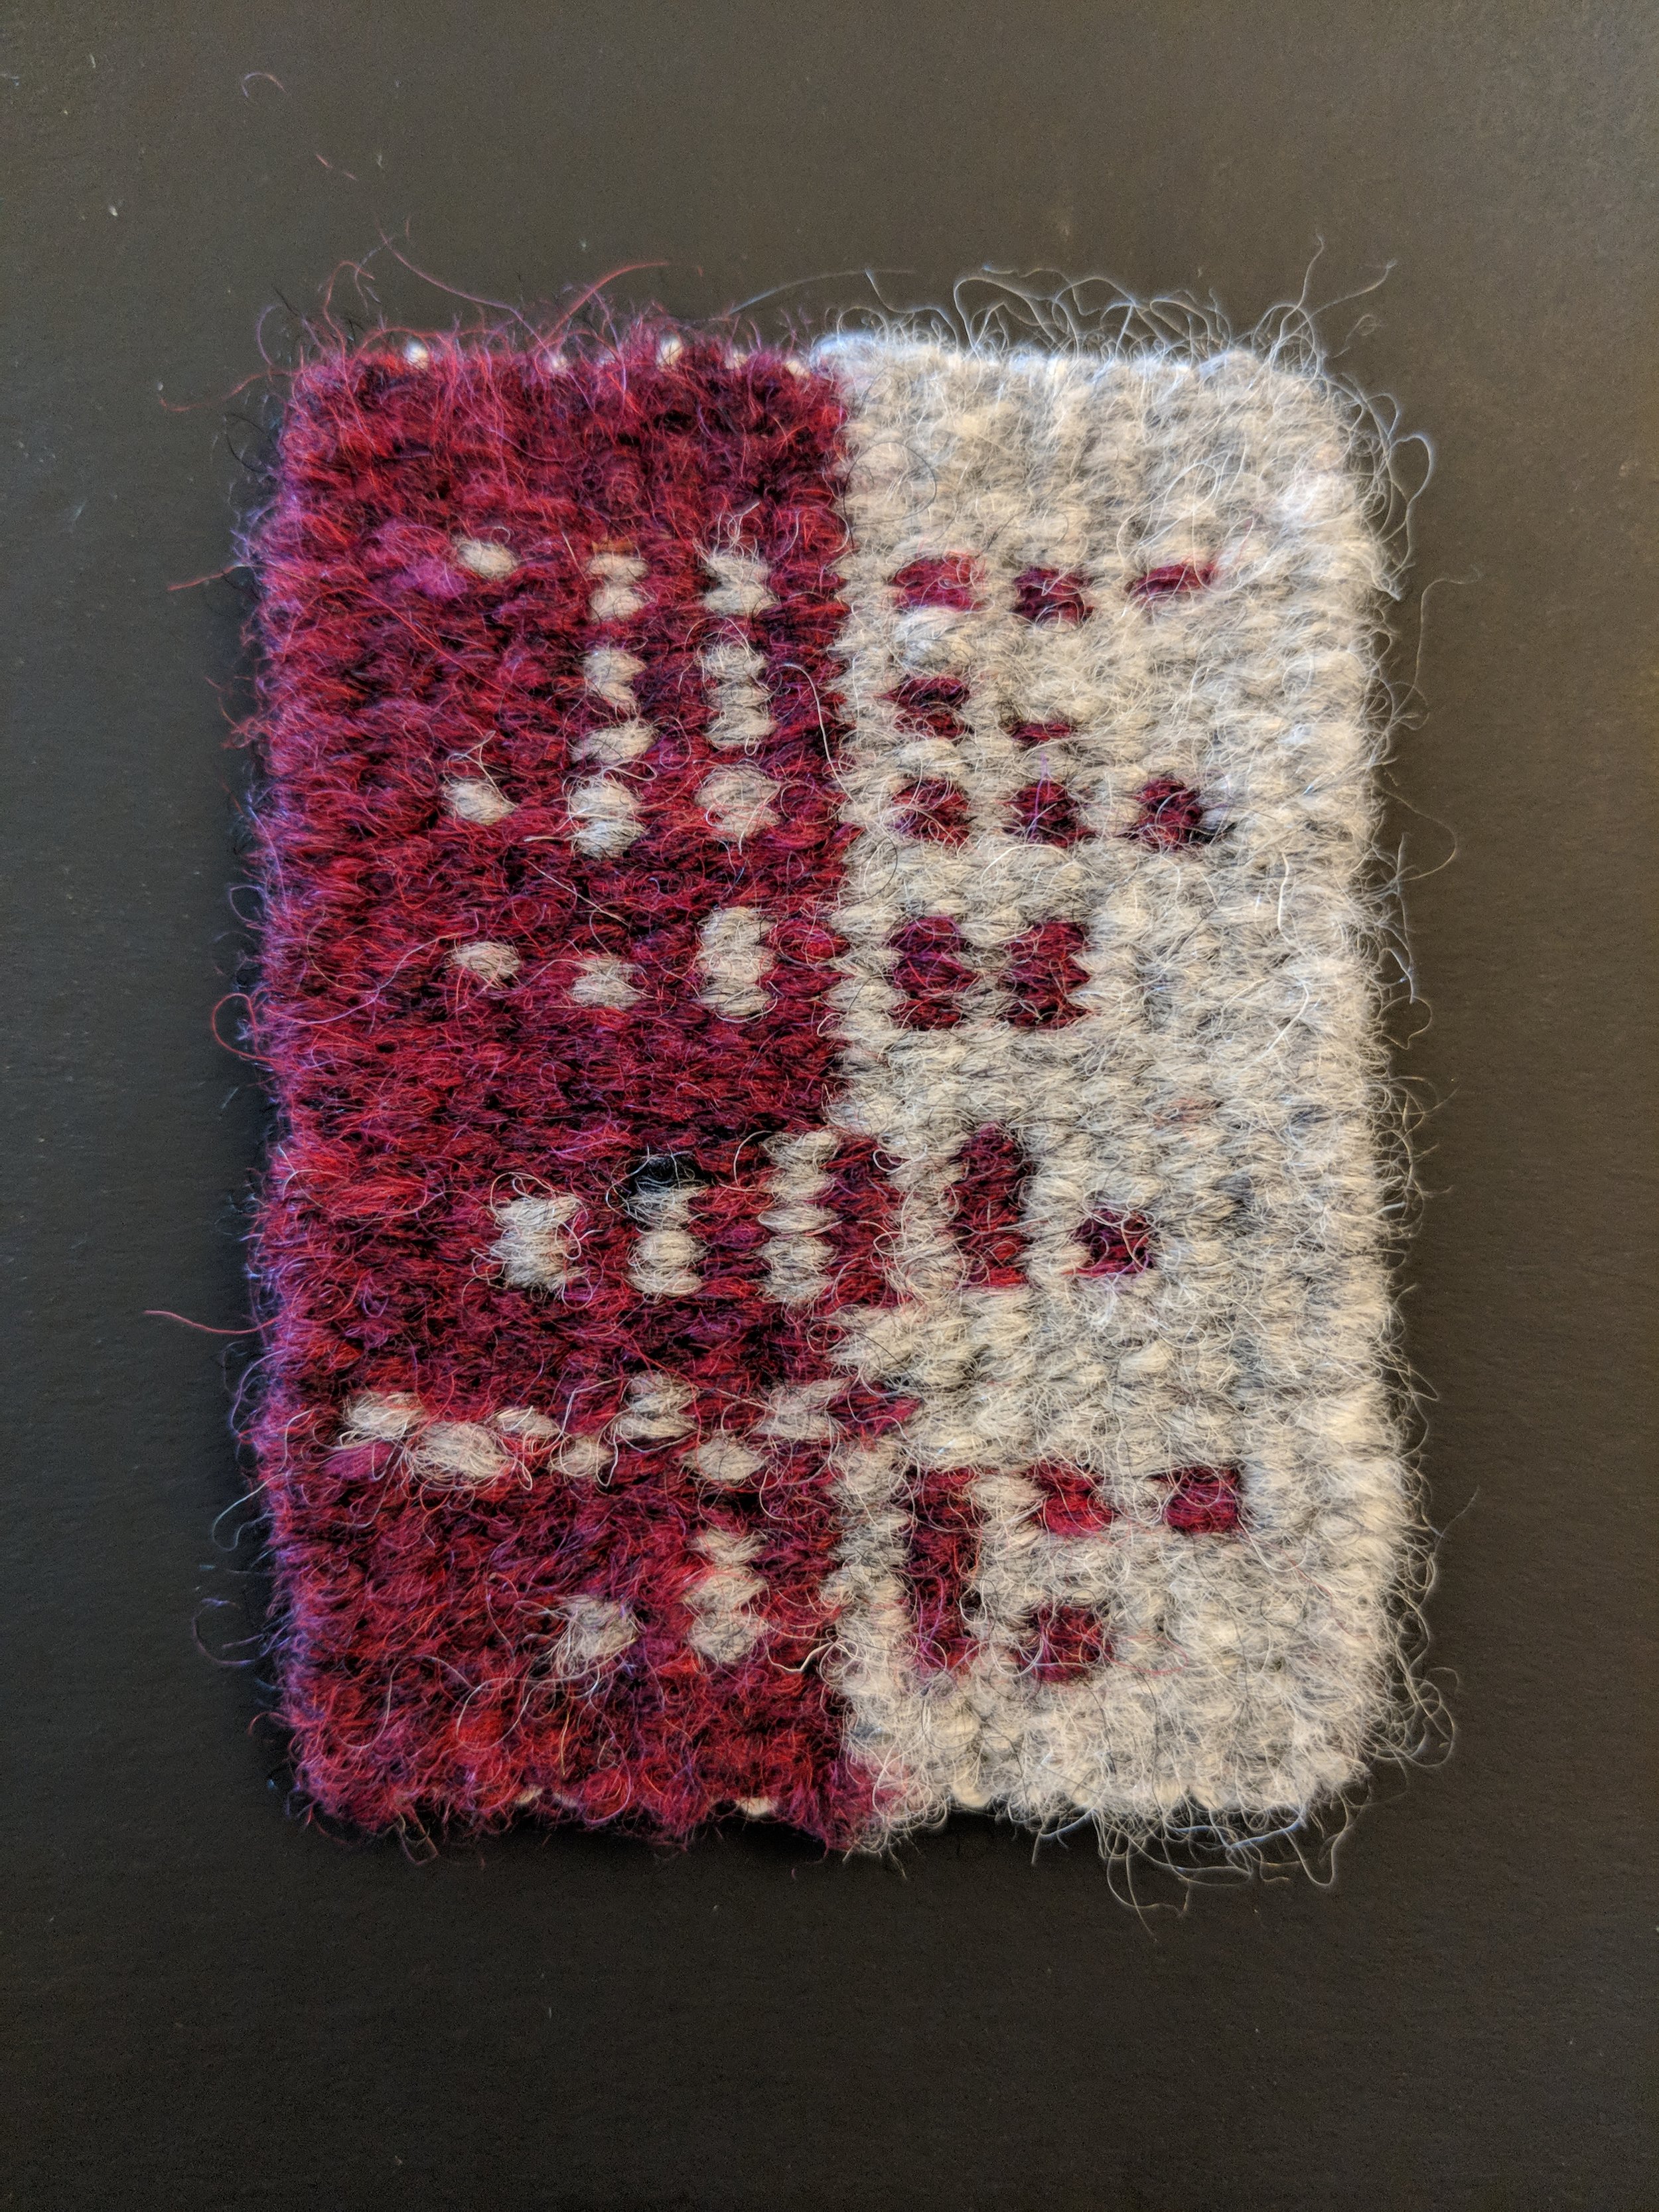
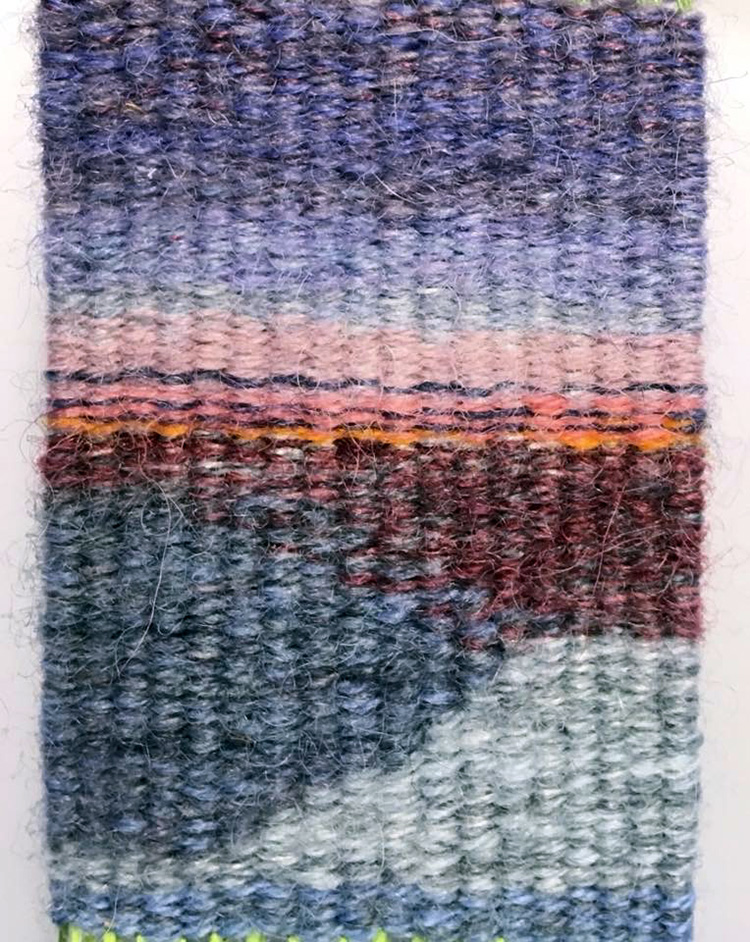
Below are some photos of work done in by people taking the Fringeless online class. Some of these weavers have been making tapestry for a long time, some are quite new at it.
“The Fringeless course was a wonderful experience and I am truly grateful I “accidentally” came across it on Instagram one day.”
Click the images in the gallery below for larger images and captions.
“ I love it! For me, the best part is the way you and Sarah give us the information, in such clear terms both verbally and visually. You make it approachable and achievable. And seeing you both working together is enjoyable. Thank you for all the work you put into it. It’s been one of the highlights of my summer.”
“I have loved it and the camaraderie between you and Sarah is fun to be a part of. I like the style and really appreciate your giving us the tools to do four selvedge weaving. I have seen directions elsewhere which were great, but nothing beats yours and Sarah’s successful effort to spell it out.”
“I really appreciated Sarah’s videos and descriptions of how to use a bobbin. It’s been something I never quite understood and now I’m using bobbins! Thanks!
Rebecca and Sarah are enablers. They make every effort to show us how to use the materials we have to accomplish the task, whether it’s building a loom or weaving a tapestry. I love all the resources provided. You made it easy to walk into the hardware store with my list and walk out with everything I’d need for my pipe loom. ”
“The Fringeless class was a fun class to take. I appreciated having the knowledge and teaching ability of two wonder tapestry artists leading the class. I loved it when both of you were weaving and we got to hear the conversation—a great way of being able to compare how different weavers work and learning from both!”
“I thought it was a great class and I’m signing up for another this weekend. The videos and handouts were very good. I thought it was all clear and easy to understand, even with minimal tapestry experience. Great info. Wonderful teaching style!”
“The class is fantastic and you and Sarah are fantastic teachers! ”


