
I have never before used an upright tapestry loom except for small frame looms and my Mirrix. My grandmother Marian gave me her beloved tapestry loom when she moved across the country a few years ago. I was so enamored of the loom my grandfather gave me, the Harrisville rug loom, that I had neglected this beautiful LeClerc. But when I moved to Alamosa and was faced with which loom I could most easily liberate from the storage locker in Taos, the LeClerc won easily. So I brought it home and my father put it back together for me and now I am ready to have a whack at using it.
It needed some cleaning up first however.
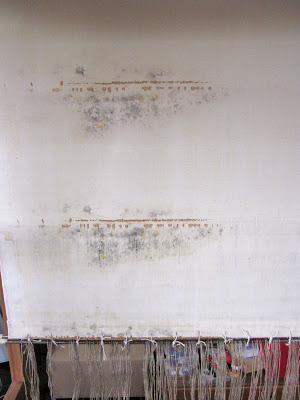
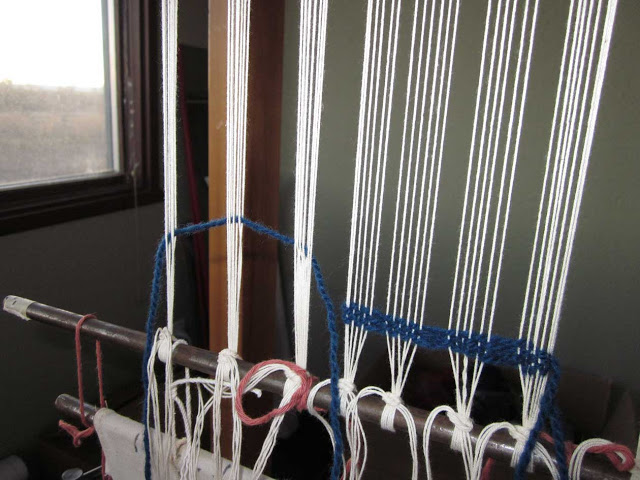
The linen warp that my grandmother had last put on the loom was still rolled on the top beam. I loved the curtain of linen it made when I pulled it down... but eventually I had to cut it off.

But not before examining how it was warped!
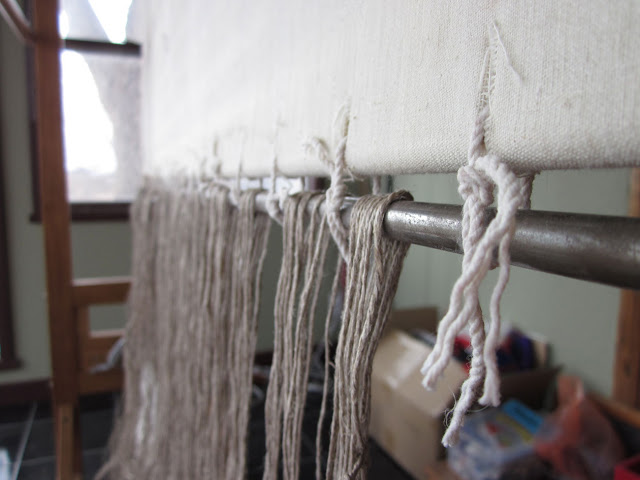 Clearly the loops from the cross end of the warp were at the top indicating to me that a warping board was the best way to warp this loom as opposed to some modified Navajo warping technique. As I knew Tommye Scanlin used to have a loom just like this, I consulted her for advice and she was exceedingly helpful.
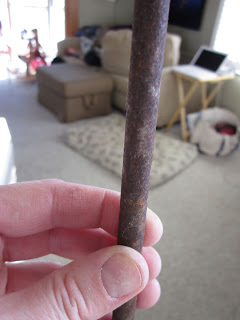
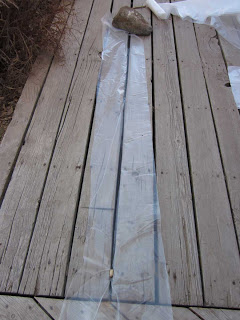
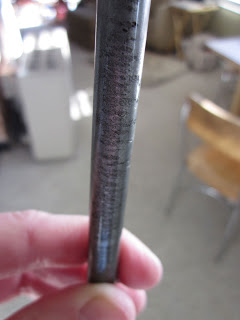
I found when I unwound the old warp that water had dripped onto the top beam at some point when this warp was sitting in my grandmother's dining room waiting for a Maurice Sendak tapestry (see blog post HERE) to be woven and the two iron bars were rusted. Upon the trusty advice of my Uncle Carl, I used plain old vinegar to get the rust off the bars. I made a sort of tub with plastic sheeting and the widest crack in our back deck. It worked perfectly and only took a couple cups of vinegar. After a little scrubbing with steel wool, I had perfectly clean bars again.
There was also an issue with mold on the apron. The new version of this loom which LeClerc still makes doesn't have the canvas apron. The rod attaches directly to the beam in a slot. But this loom is an old one and the apron molded where it was wet. I opted, in this dry climate, to wait to replace it and rolled the mold right back up. I will need to replace the apron sometime soon.


It needed some cleaning up first however.
The linen warp that my grandmother had last put on the loom was still rolled on the top beam. I loved the curtain of linen it made when I pulled it down... but eventually I had to cut it off.
But not before examining how it was warped!
I found when I unwound the old warp that water had dripped onto the top beam at some point when this warp was sitting in my grandmother's dining room waiting for a Maurice Sendak tapestry (see blog post HERE) to be woven and the two iron bars were rusted. Upon the trusty advice of my Uncle Carl, I used plain old vinegar to get the rust off the bars. I made a sort of tub with plastic sheeting and the widest crack in our back deck. It worked perfectly and only took a couple cups of vinegar. After a little scrubbing with steel wool, I had perfectly clean bars again.
There was also an issue with mold on the apron. The new version of this loom which LeClerc still makes doesn't have the canvas apron. The rod attaches directly to the beam in a slot. But this loom is an old one and the apron molded where it was wet. I opted, in this dry climate, to wait to replace it and rolled the mold right back up. I will need to replace the apron sometime soon.
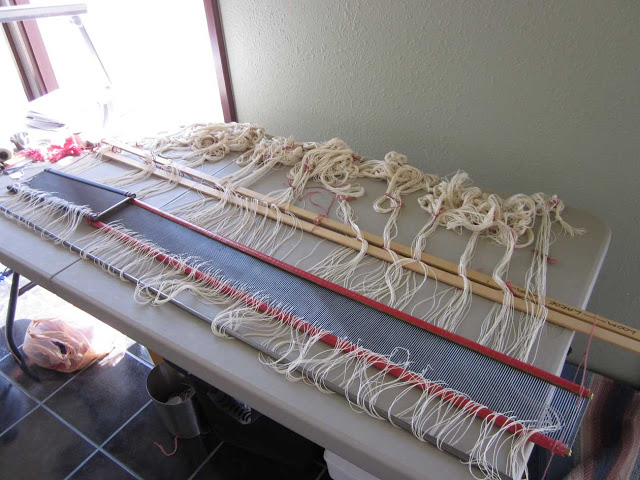
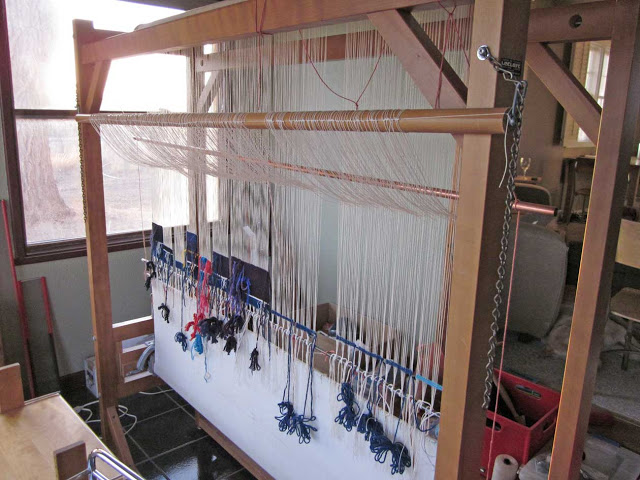
I wound a warp on my warping board. Here are the warp sections hanging ready to be put through the reed.
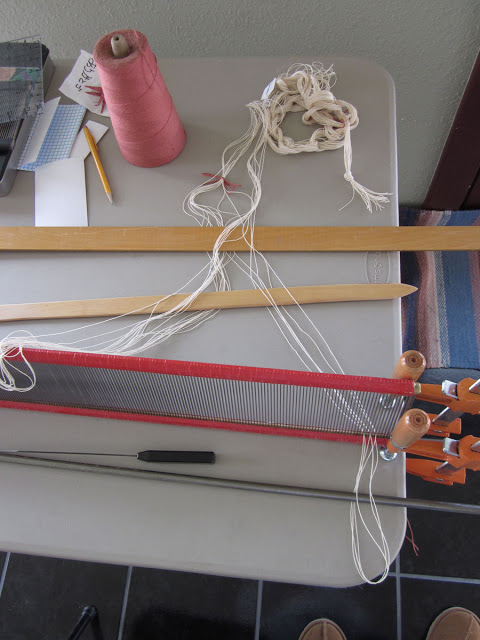
I then threaded each loop into every other dent in an 8 dent reed (warping for 8 e.p.i.). I held the reed vertically with two clamps as I did this and slid the loops onto the bar which would hold the warp loops at the top of the loom tied to the bar that goes through the apron rod.
The entire warp was put through the reed. Unfortunately I don't currently own a 60 inch 8 dent reed and ended up using two shorter reeds to accomplish this. Because this piece has several sections, the break between the reeds didn't matter. If I was doing a piece without sections, this would not have worked.
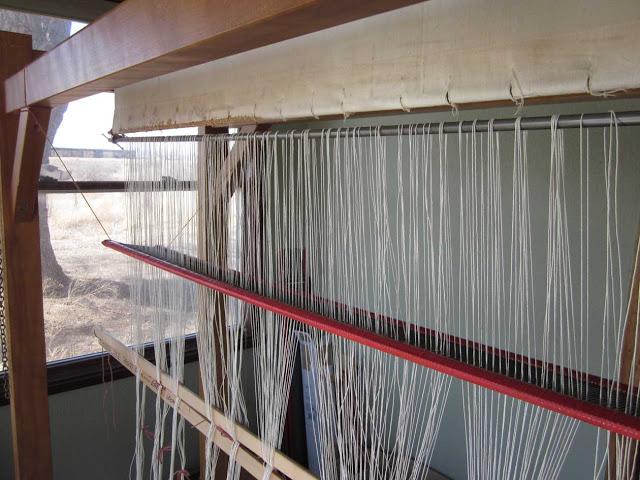
With Emily's help, I tied the reed onto the frame, leash sticks below.
The warp was slowly rolled around the top beam and then tied at the bottom like you would a floor loom... ready to weave.
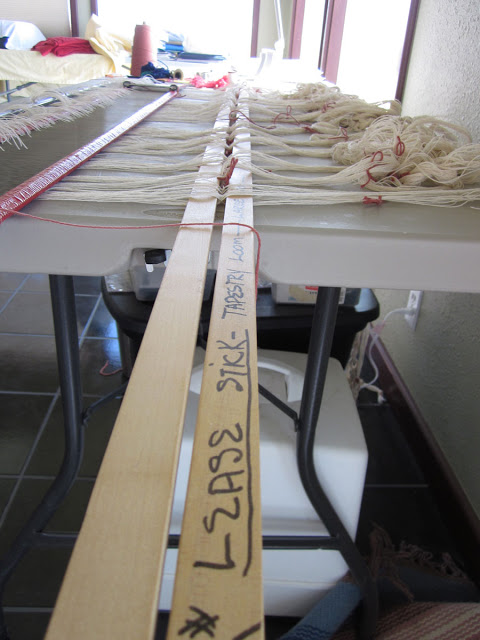 |
| My grandmother loved to mark things and much of my weaving equipment like these leash sticks are covered with her writing. |
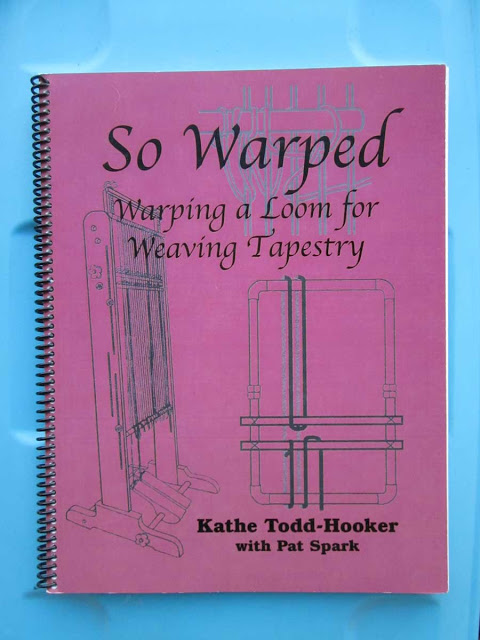
Another helpful resource for warping and for this project was Kathe Todd-Hooker's warping book, So Warped. It is available from her business, Fine Fiber Press. She specifically mentions a wide variety of looms and how to warp them and I recommend all tapestry weavers, especially ones like me who like to play with a wide variety of looms, have this book on their shelves.
 |
| One of my favorite bumper stickers, also from Kathe Todd-Hooker |
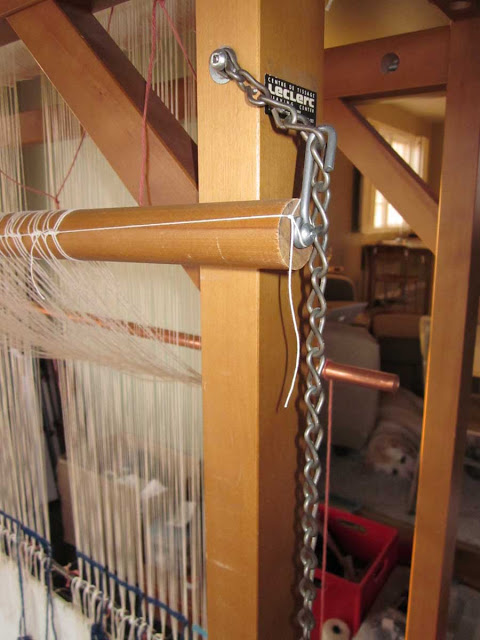
After the warp is on, you still have to tie leashes. This loom comes with a 1 1/2 inch leash bar which has adjustable height via chains on each side of the loom.
The leashes are tied one at a time to pull forward the second shed. I learned this method of tying leashes from Archie Brennan and Susan Martin Maffei in their tapestry course, Woven Tapestry Techniques. I have never tied leashes like this before as I usually use a loom with harnesses and treadles. Archie's description in his DVD course is helpful and clear.
I used a long copper bar to hold the open shed in place. The leashes are used to pull the back threads forward to make the other shed.
And the loom is tied up, the tension extremely even if I do say so myself!
Now all that remains is to turn this:
into a finished work of art.