
Lately I’ve seen a lot of questions in the online course and in my email from people asking about headers and finishing such as the one below from Hannah.
“I have purchased your book The Art of Tapestry Weaving and I am at the section about hemmed headers. I am at the end of my piece and am doing the header steps in reverse, but I’m not sure what to do after weaving the 1/2 inch of waste yarn. I will be grateful for your guidance. I’m truly loving the book. It’s so good, thorough, and informative!”
Thank you for this question Hannah. For anyone who doesn’t have The Art of Tapestry Weaving, I present two different ways to do headers in the book. There is a simple double half-hitch header that is very useful and a hemmed header which is the one I use on my large-format pieces.
The header is the part of a tapestry at the beginning and end of the weaving process and it has two functions:
To hold the tapestry together.
To help you finish the piece so you can display it the way you want to.
Keeping the tapestry together during finishing
We do not want our work to fall apart and the header has to keep the work together both on the loom and when you take it off the loom as you’re doing the finishing.
I often see newer tapestry weavers just start weaving in the middle of a warp. This isn’t a good idea because as soon as you take that tapestry off the loom, the weaving is going to slide right off the warp. A header supplies a structure for the weaving to stay together as you do the finishing.
Allow the finishing method you desire
The method you choose for your header will determine to some extent what the finished and displayed tapestry looks like. If you choose a header that doesn’t allow for a hem, you’ll see the warps in whatever finishing method you choose. If you want a hem, you need to accommodate for that as you weave your piece and include parts in the header so that you can make a nice hem in the finished tapestry.*
How you do the headers might also determine how you hang or display a piece. Tapestries that are large often use hems and the hem at the top needs to have the ability to support the weight of the hung tapestry. Whether you’re hanging the tapestry from a bar with velcro, looping it over a rod you might see in the display, or using some other method of hanging, the header might well be important and you need to decide about that before you start weaving.
A hem creates a crisp edge to your tapestry. This example uses a hemmed header and the warps are invisible.
The edge of the hem is done with a row of soumak. This allows the tight fold in the cloth without the warp showing. This is my standard hemmed header which I present in all my beginning online classes and in my book, The Art of Tapestry Weaving.
Very small tapestries benefit from being mounted and in that case, the work is supported by the mount and there are not as many structural concerns in the weaving process. The Penland Landscape piece pictured below is about 3 x 5 inches and has been mounted. It did not have headers because it was woven on a Fringeless four-selvedge warp.
Rebecca Mezoff, Penland Landscape II, 3 x 5 inches, tapestry
If you’ve done a double half hitch header, you might still do a hem, but you more likely would choose a finishing method where the warps show. Examples are fringe or a plait. The photo below of Hot Flash shows a header that includes a plait or braid to finish it. This small piece will be mounted so it doesn’t need a hanging bar attachment.
Rebecca Mezoff, Hot Flash, 10 x 10 inches, wool, silk, cotton, tapestry
Headers are like bookends: don’t forget the one at the end
You need to put a header at the end of your piece before you take it off the loom for the reasons we’ve already talked about here. Generally you will reverse the steps you used at the beginning. If you started the piece with a row of double half hitches and then some warp woven as weft, you’d reverse that at the end. After you’re done with your patterned weft, weave the same amount of warp as weft that you did at the beginning and finish with the row of double half hitch knots.
If you’re doing a hemmed header that doesn’t have knots to hold things together at the end, make sure to also add some waste yarn after the top header. This keeps the piece together while you do the finishing. A half inch of waste is usually sufficient though this can depend on the loom.
In my book, The Art of Tapestry Weaving, I describe how to make two kinds of headers, a hemmed header which creates a crisp fold at the edges of your work, and the double half-hitch header which generally leaves knots you’ll see. See chapter 6 of the book for all the details.
One version of a double half-hitch header shown here from the front and the back on a small tapestry.
Back to Hannah’s question from the top of this post. Her inquiry surprised me a little because it just never occurred to me to actually state what you do next. After you do the header at the end and put in another bit of waste, what do you do next?
The answer is simple: cut the piece from the loom. However, on some looms, the answer is not as simple as it seems. Here are a few loom-specific tips:
On a simple non-tensioned loom with pegs or slots, either slip the weaving off the pegs by pulling the loops away from the loom, or if there is a lot of tension on the warp, cut it near the top or bottom of the loom. I usually cut it near the top of the loom to leave myself as much warp as possible for any finishing techniques I’m doing. Also if you have a wooden loom like a Hokett loom, the teeth can be a little fragile and pushing tight warps out of those slots can actually break the loom. In that case it is better to cut them.
On a tensioned frame loom without a continuous warp like a copper pipe loom, just cut the warps leaving enough length for your finishing technique (for example, if you’re doing a braid, make sure you leave the ends long enough to do that! 4 inches is nice for plaited braids like I show in the Hot Flash tapestry pictured above.)
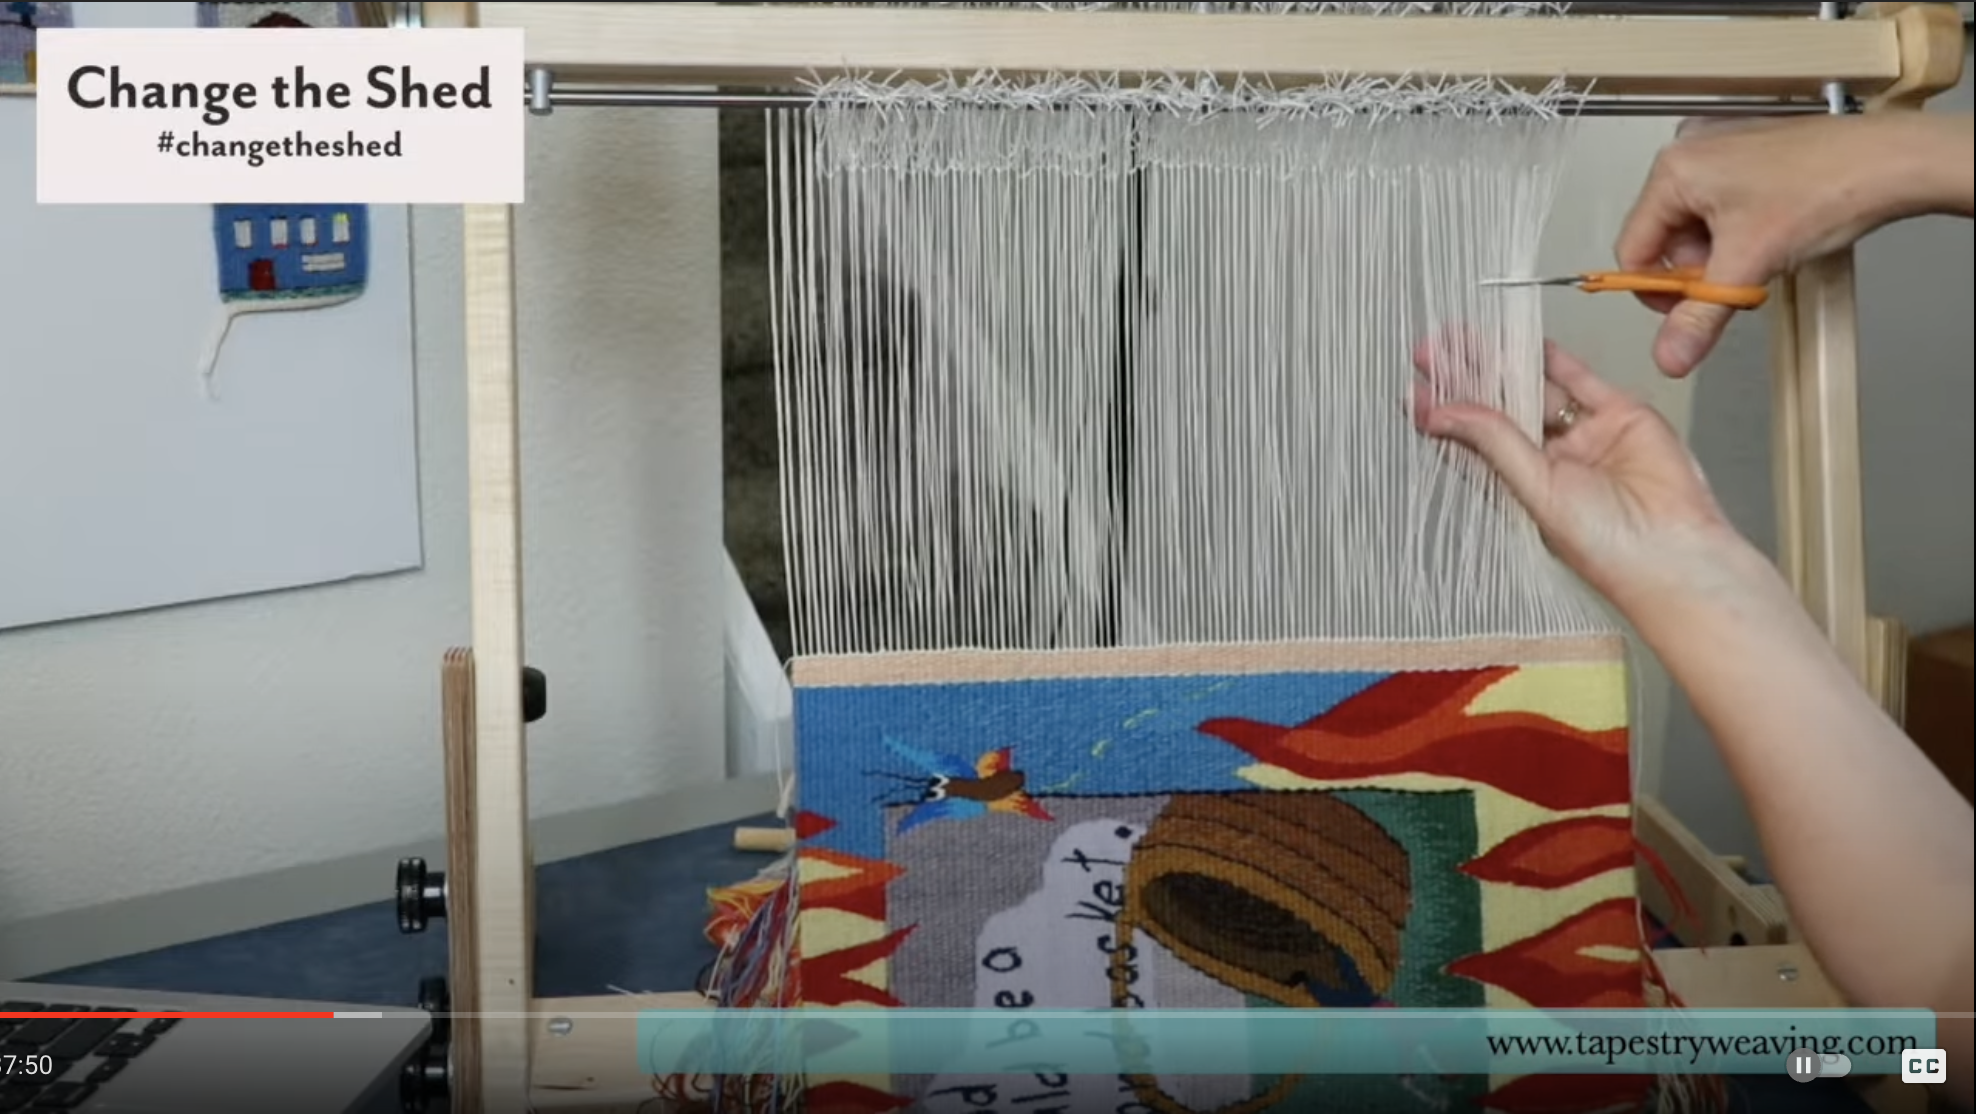
On a loom with a continuous warp and a warping bar (a Mirrix or Schacht Arras), loosen the tension on the loom first. Sometimes I’ll just slip the warping bar out of the warp at this point so it doesn’t fall. Cut the warps leaving enough room for finishing and if you’re using texsolv heddles, make sure to save them for your next warp. You can watch me do this on the Change the Shed episode linked below.
On a floor loom, generally you can just cut the piece from the loom. Think about whether you’re going to reuse the threading though and if so, pull the warp far enough forward that you can tie knots in the warp in front of the reed or heddles for your next tapestry.
The screen shot below is from the July 7, 2021 episode of Change the Shed where I cut the Handbasket tapestry off the Schacht Arras loom. You can see that episode HERE.
Many tapestry weavers like to let their work “rest” for a few days after it is off the loom. This is a sound practice. The materials have been under a lot of tension potentially for quite awhile and allowing them to reach a state of rest is a nice thing to do and might make a difference, especially for larger pieces. Once the tapestry has had a little break, you can start working on the finishing steps!
Happy weaving and finishing! Do you have other favorite header techniques that allow particular finishes or presentation? Tell us in the comments!
*The online class I teach that presents the widest array of headers is Weaving Tapestry on Little Looms. Fringeless: Four-Selvedge Warping is the class that shows you how to make a tapestry that comes off the loom with all four sides finished.
“What we call the beginning is often the end. And to make an end is to make a beginning. The end is where we start from.”