Tapestry Weaving

A new tapestry falls from the loom

A new tapestry falls from the loom

It isn’t a common thing to say in the USA, that a tapestry falls from the loom. But that is the translation from other languages and I like it. One of you will remind me where I have heard this. I believe it is the French that say it, but please correct me if not!

I’ve started a new tapestry series and I am still so excited about weaving large tapestries again. I’m forging ahead with the second piece and hope to get it on the loom in the next couple weeks. Those of you who watched me weave wildflowers on Change the Shed know that I started the sampling in October of 2021 and the tapestry began on my rug loom in mid-November.

For me to have woven a piece like this in two and a half months is a bit astounding to me. You see, I work full time and tapestry is slow. It usually takes me a year to weave a larger piece. But I am determined to spend more time on the loom and so I have made choices this year to allow me to do that. To finish this piece in that time which included almost two weeks away from home visiting family, I just wove every day. Most days it was only an hour, but that adds up to 7 hours a week and that was enough. This piece was not complicated weaving and so I was able to roll right along fairly quickly. There were few decisions and it was a joy to see it grow so quickly.

Finding the right shed stick for weaving tapestry on small looms

Finding the right shed stick for weaving tapestry on small looms

I have used shed sticks made by Jim Hokett for my whole little looms weaving career. So when he retired in 2019, I was sad to lose this source of wonderful tools. There are other people making similar looms, but I have struggled to find a replacement for his shed sticks.

Today’s video does a deep dive into this humble tool. Shed sticks are particularly useful on small tapestry looms without shedding devices. I use them as a simple way to open the shed, prevent abrasion of my weft yarn, and to check my shed for errors. And on narrow setts, they can pick up warps that my fingers cannot.

Questions from the book: Headers and Finishing

Questions from the book: Headers and Finishing

Lately I’ve seen a lot of questions in the online course and in my email from people asking about headers and finishing such as the one below from Hannah.

“I have purchased your book The Art of Tapestry Weaving and I am at the section about hemmed headers. I am at the end of my piece and am doing the header steps in reverse, but I'm not sure what to do after weaving the 1/2 inch of waste yarn. I will be grateful for your guidance. I'm truly loving the book. It's so good, thorough, and informative!” —Hannah via email

Thank you for this question Hannah. For anyone who doesn’t have The Art of Tapestry Weaving, I present two different ways to do headers in the book. There is a simple double half-hitch header that is very useful and a hemmed header which is the one I use on my large-format pieces.

The wildflower tapestry: weaving on the big loom

The wildflower tapestry: weaving on the big loom

I’m back to weaving on my favorite loom. I had a few ideas for tapestries while hiking the 500-mile Colorado Trail last summer and one of them is taking shape on the Harrisville Rug Loom.

In the spirit of curiosity and adventurousness that the Colorado Trail hike only strengthened, I am doing some experimenting with this tapestry. Perhaps not drastically so since the forms I like to weave are clearly present. I’m just using different materials than I usually do. It is the first time I’ve ever woven a large tapestry with yarn that I didn’t dye myself.*

For the last 15 years of my tapestry weaving career, on large tapestries I have used Harrisville Koehler Singles or Harrisville Highland dyed by me. That allows me to make the gradations I love and to make virtually any color I can think up. In this tapestry I’m using 100% commercially dyed yarns. I have found that a little shocking sometimes. For example, the photo below where I’m adding the Daffodil color on top of Indigo was one such moment. I would probably never dye this bright yellow color, but there is it. It is an experiment and I’m withholding judgement until it is all finished. If I don’t like it, the sheep are making more wool as we speak.

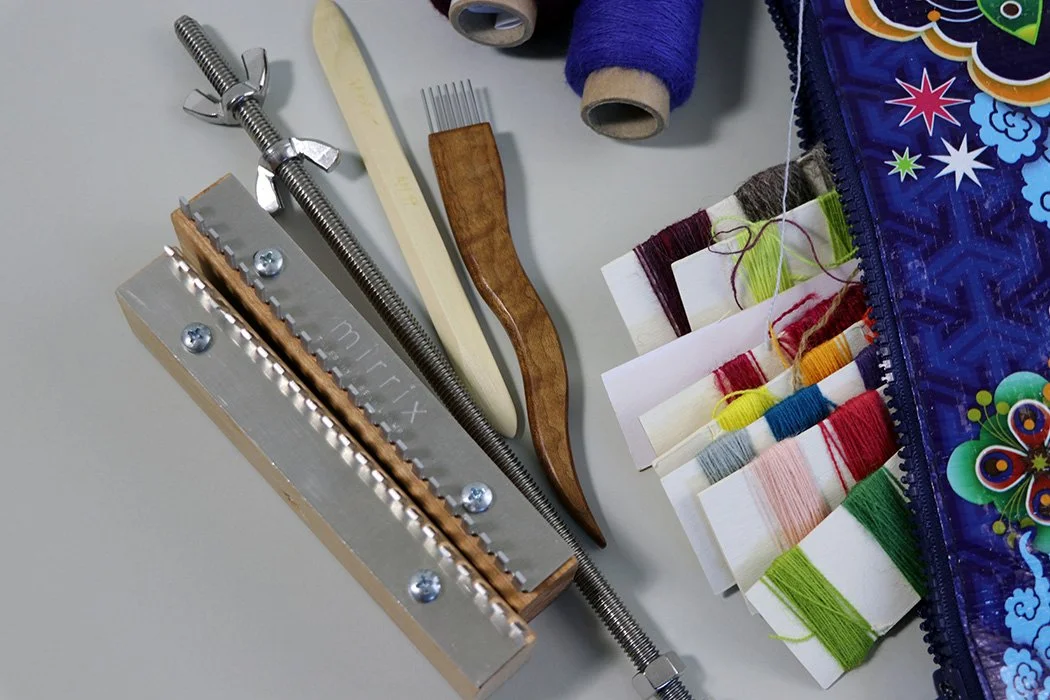
What tools and materials do I need to learn tapestry weaving?

What tools and materials do I need to learn tapestry weaving?

Learning a new art or craft can mean that you need to purchase some supplies. The hard thing is knowing what you actually need when there are so many options. Below is a list of equipment and yarns which I’ve seen be very successfully used by beginning tapestry weavers. Some people will use the same materials for their whole weaving career!

The surface of your tapestry: do those bumps matter?

The surface of your tapestry: do those bumps matter?

What materials you use for your tapestry will, to some extent, determine how much surface variation there is in your tapestry. I’m talking about the bumps you see when the strands of weft don’t quite line up.

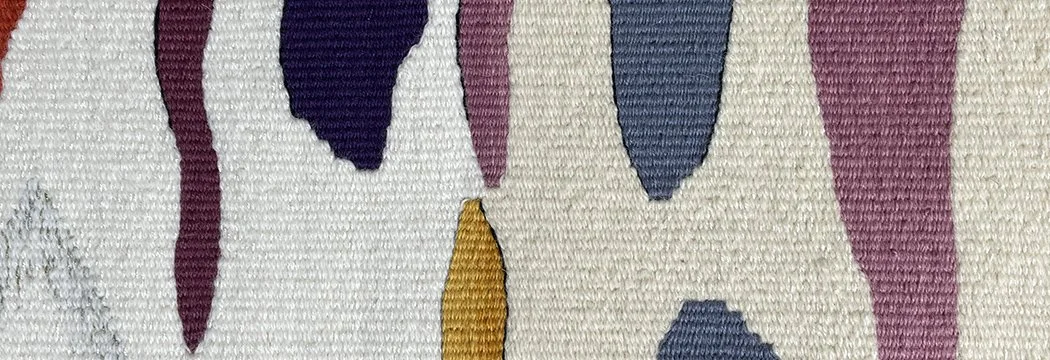
If you use a worsted spun wool that is fairly smooth like weaversbazaar or Gist Yarn’s Array, you’ll find that you have slight variations in the surface unless you spend a lot of time lining up the yarns in your weft bundle. I’d like to suggest that these slight surface differences are just part of this medium. One of the joys of seeing tapestry in person is that you can experience these surface details and they add to the piece in most instances.

For example, I’ve been sampling Gist Array’s yarn versus my regular Harrisville Singles for a large tapestry. The background colors in the sample are wool and silk (unbleached and white in these photos). The colored bits are the yarns I’m deciding between.

How much of your tapestry warp is useable?

How much of your tapestry warp is useable?

For many of us, not wasting things is important. When it comes to weaving and warp however, there will always be some warp you can’t use. How much is that?

The answer of course depends on the loom and your tolerance for easy versus not-so-easy weaving. As I discussed here on the blog a few months ago, the longer the loom is, the easier the weaving is. But it is possible to weave all the way to the end of a warp where you have no shed at all. If you’re willing to do that, you’ll get the award for most warp used.

I prefer to have some loom waste and have an easier time weaving. All forms of weaving except for four-selvedge methods involve some loom waste. The video below discusses how much extra warp you need to leave on a continuously warped loom such as the Mirrix or Arras. This concept will help you decide on loom size and warp length as you set up your next tapestry weaving.